Fabric & Notion Supplies:
- Cut from Outer Fabric:
- One 4" x 8" rectangle (bunny bottom)
- One 6" x 8" rectangle (bunny top)
- One 8" x 10" rectangle (bunny back)
Two 6" X 7" rectangles (bunny ears)- Cut from Lining Fabric:
- One 4" x 8" rectangle (bunny bottom)
- One 6" x 8" rectangle (bunny top)
- One 8" x 10" rectangle (bunny back)
- Cut from Thermore Batting:
- One 4" x 8" rectangle (bunny bottom)
- One 6" x 8" rectangle (bunny top)
- One 8" x 10" rectangle (bunny back)
- One 6" X 7" rectangles (bunny ears)
- 1 zipper at least 9" in length
- 3 small black buttons for eyes and nose
- 505 Basting Spray
- Zipper foot
Sewing Instructions:
Note - All seams are 1/4" unless otherwise noted.
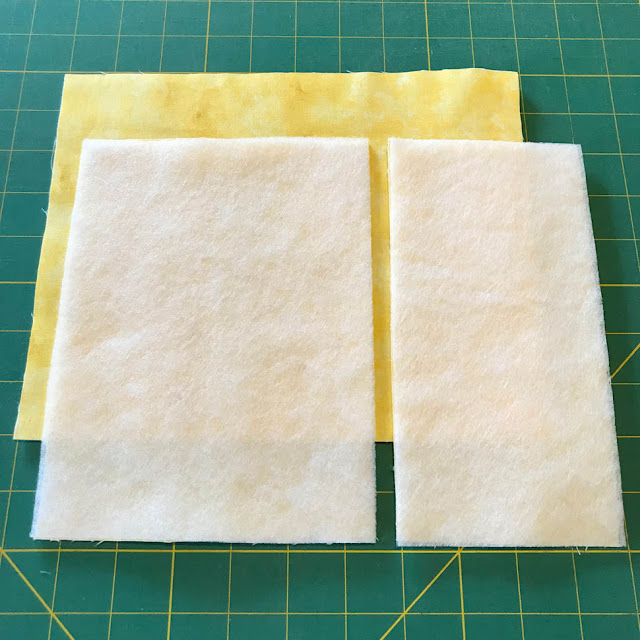
3. Spray baste each batting piece to the wrong side of the corresponding outer fabric pieces.
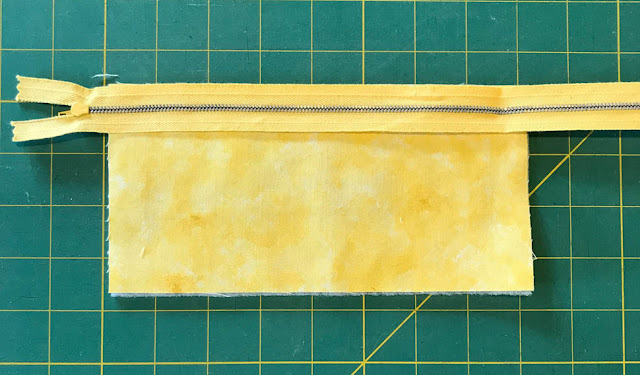
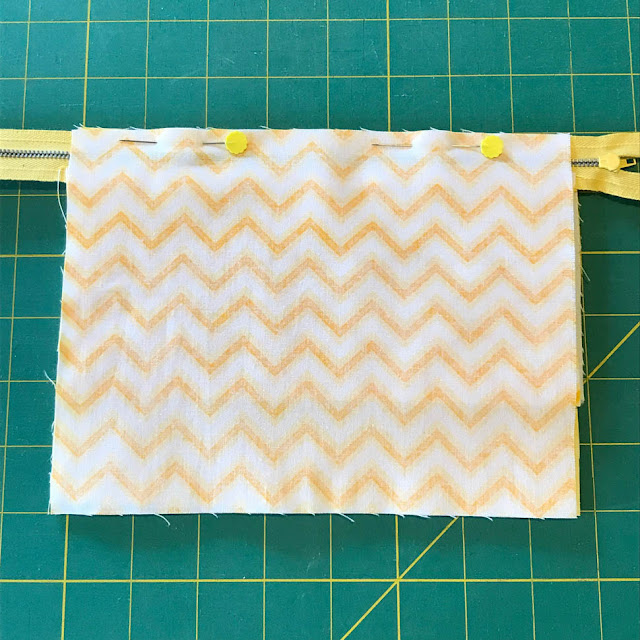
4. With 4"x8" outer fabric facing up, place zipper, right side down, along 8" side of fabric. Ends of zipper should extend past fabric on both ends.
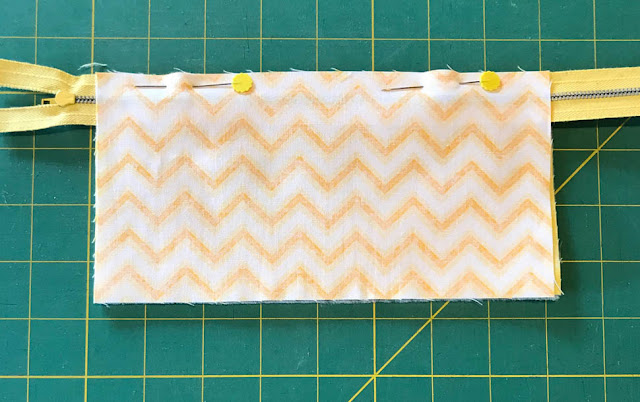
5. Layer the 4"x8" lining fabric, right side down, on top of the zipper and pin.
6. Using a zipper foot, sew through all layers.
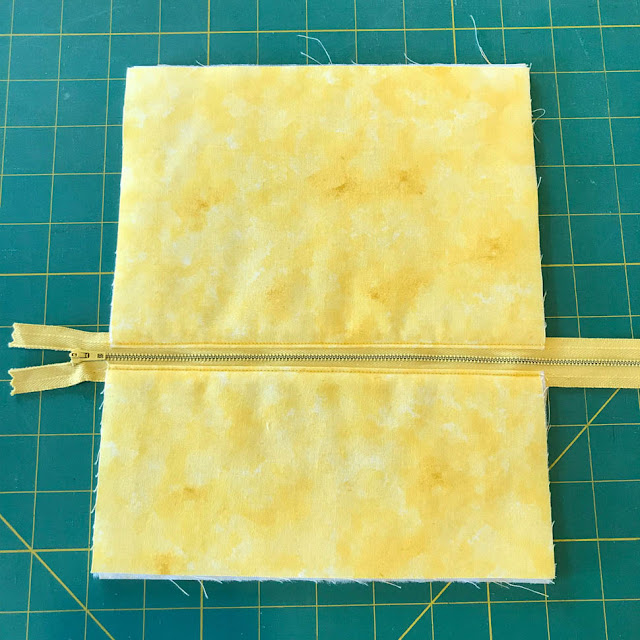
7. Turn lining over to the back and press outer and lining fabrics away from zipper. From the front side, top stitch 1/8" from seam.
8. Place the zipper section right side down on top of the 6"x8" outer fabric along 8" edge.
9. Layer the 6"x8" lining fabric, right side down, on top of the zipper and pin. Using a zipper foot again, sew through all the layers.
10. Turn lining over to the back and press outer and lining fabrics away from zipper. From the front side, top stitch 1/8" from seam.
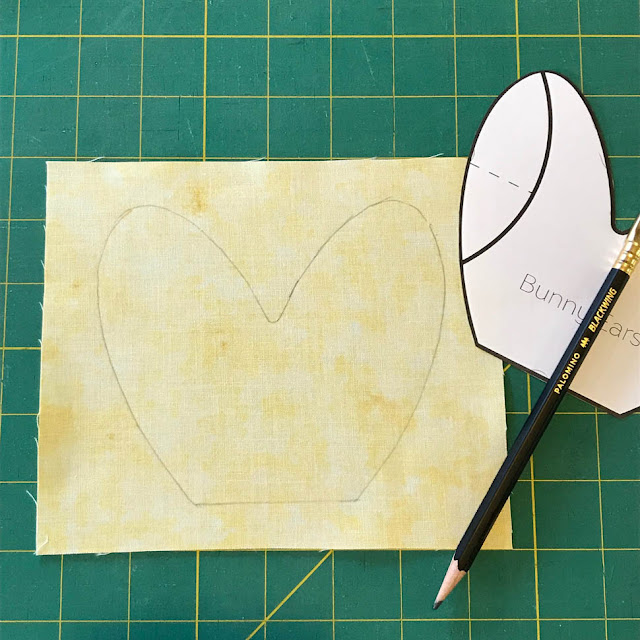
11. Trace bunny ears onto the back of a 6"x7" outer fabric.
12. Place right sides together with the other 6"x7" outer fabric with the glue basted batting. Pin layers together.
13. Stitch on the line through all layers. Leave the straight edge at the bottom of the ears unstitched for turning.
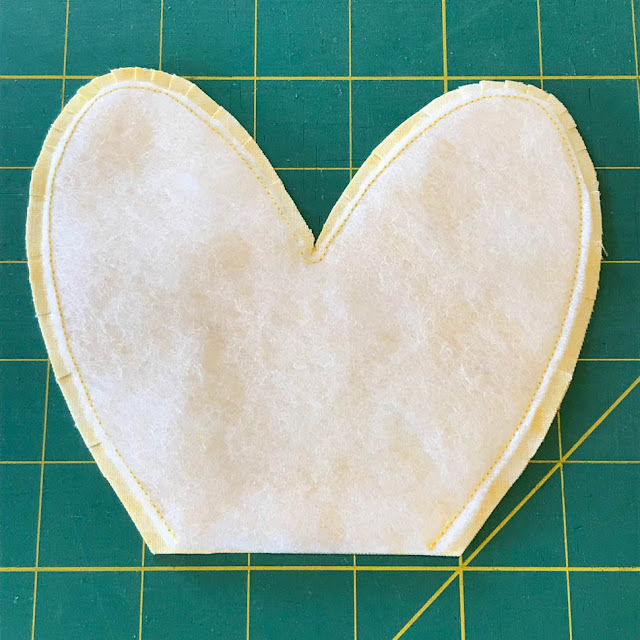
14. Trim batting as close to stitching as possible. Trim fabric 1/4" from seam. Clip curves up to the stitches without cutting into thread.
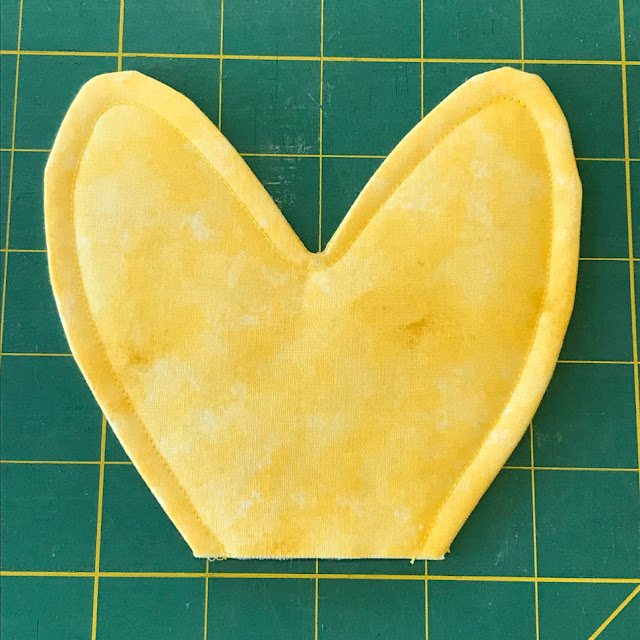
15.Turn ears right side out, pushing edges out and smoothing seam. Press. Top stitch 1/4" from edge.
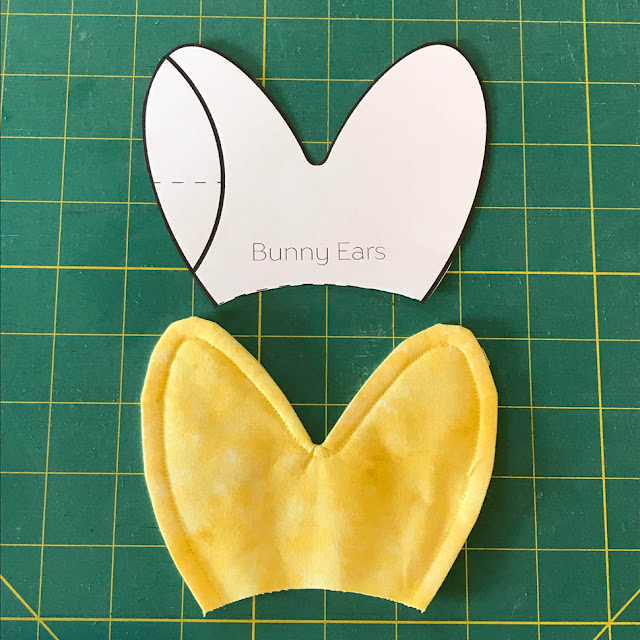
16. Using ear pattern, trim bottom of ears along dotted line.
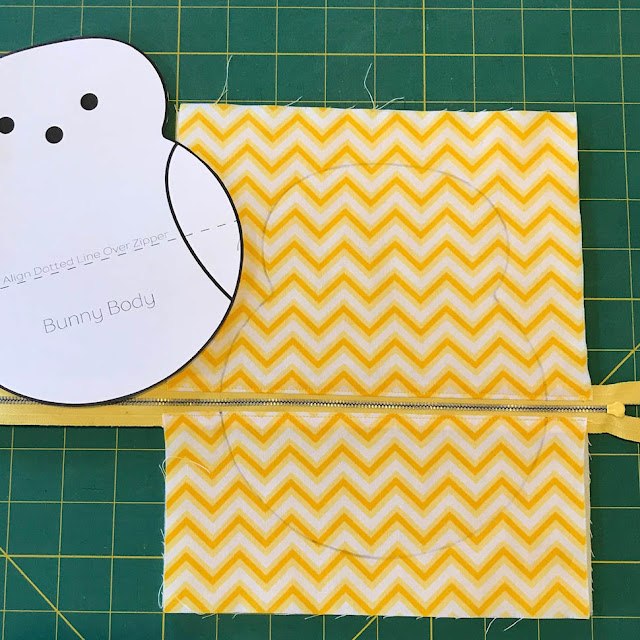
17. Trace bunny body onto the lining side of the zipper segment, aligning the line on the pattern with the zipper. Mark the two dots at the top of the head.
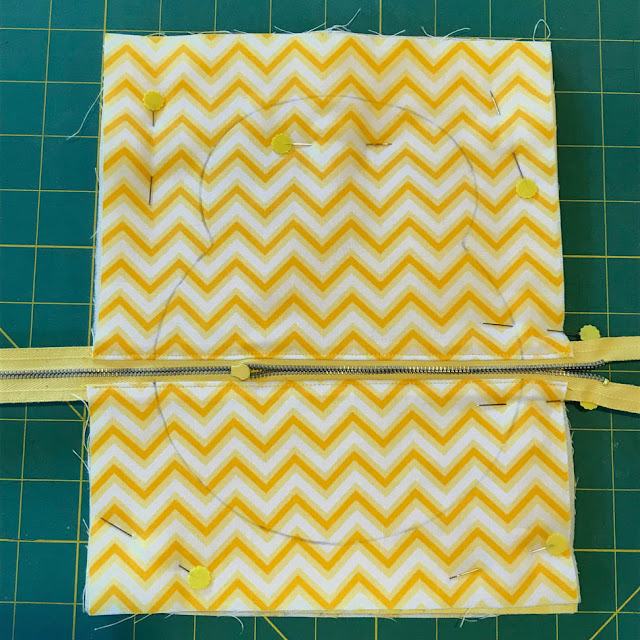
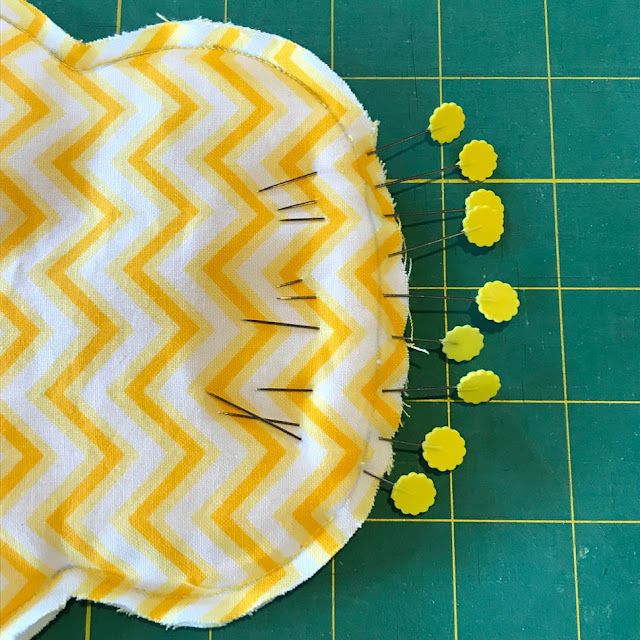
18. Place 8"x10" lining fabric face down. Layer the 8"x10" outer fabric on top face up. Layer the zipper piece face down on top. Pin layers together. Place pins on either side of the zipper on the opening side. Slide zipper pull down so that it is between the two lines and 2/3rds of the way open. Sew on line starting at one of the dots near the top of the bunny and sew all the way around to the other dot, leaving the top of the head open. Be careful when sewing over the zipper. Stitch back and forth over zipper several times to re-enforce seam.
19. Trim excess fabric 1/4" from seam. Slip bunny ears between the front and back layers and pin along the opening of the head. Ease ears around curve, pinning as you go. Sew on line to close opening.
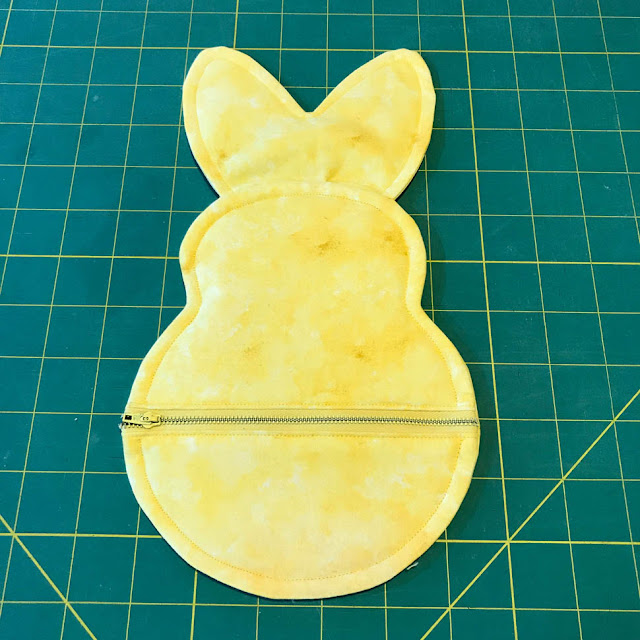
20. Trim excess batting close to seam. Clip curves. Turn and press. Top stitch 1/4" around bunny body.
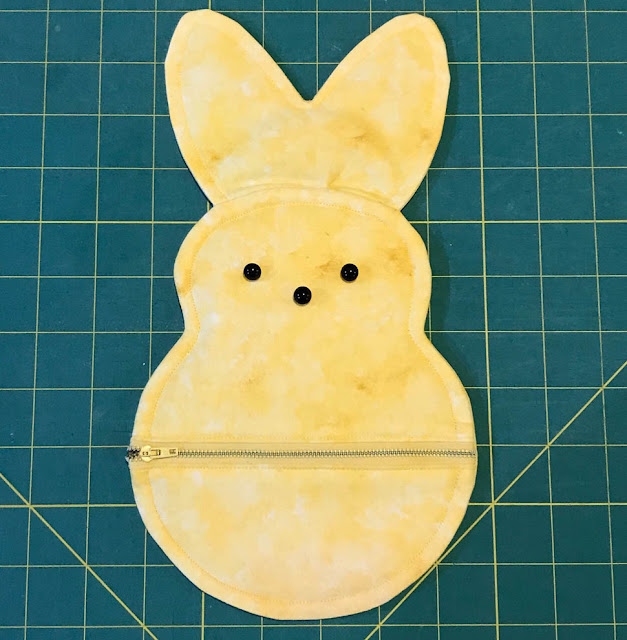
21. Sew buttons on face for eyes and nose.
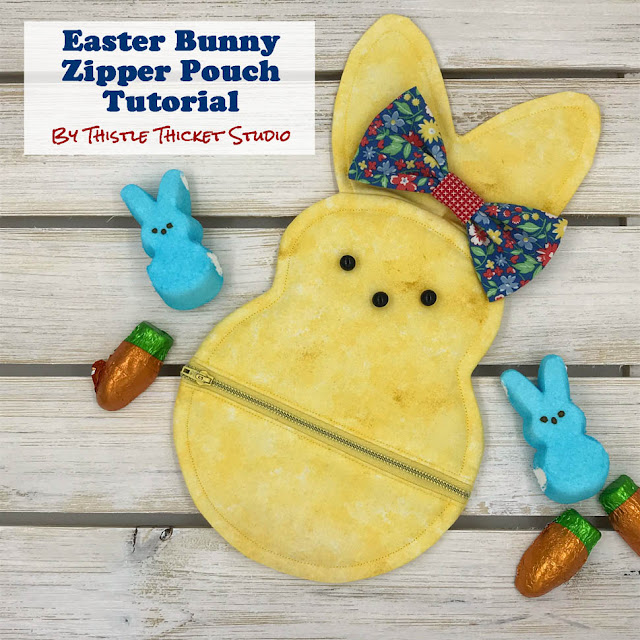
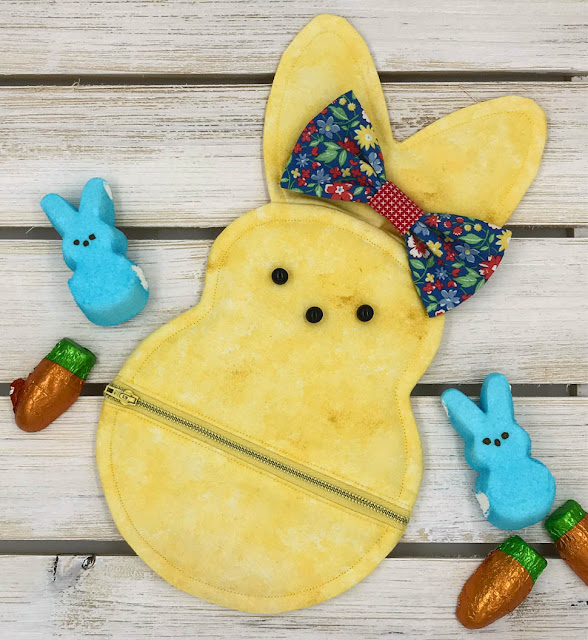
22. Embellish as desired.
Happy Sewing4. With 4"x8" outer fabric facing up, place zipper, right side down, along 8" side of fabric. Ends of zipper should extend past fabric on both ends.
5. Layer the 4"x8" lining fabric, right side down, on top of the zipper and pin.
6. Using a zipper foot, sew through all layers.
7. Turn lining over to the back and press outer and lining fabrics away from zipper. From the front side, top stitch 1/8" from seam.
8. Place the zipper section right side down on top of the 6"x8" outer fabric along 8" edge.
9. Layer the 6"x8" lining fabric, right side down, on top of the zipper and pin. Using a zipper foot again, sew through all the layers.
10. Turn lining over to the back and press outer and lining fabrics away from zipper. From the front side, top stitch 1/8" from seam.
11. Trace bunny ears onto the back of a 6"x7" outer fabric.
12. Place right sides together with the other 6"x7" outer fabric with the glue basted batting. Pin layers together.
13. Stitch on the line through all layers. Leave the straight edge at the bottom of the ears unstitched for turning.
14. Trim batting as close to stitching as possible. Trim fabric 1/4" from seam. Clip curves up to the stitches without cutting into thread.
15.Turn ears right side out, pushing edges out and smoothing seam. Press. Top stitch 1/4" from edge.
16. Using ear pattern, trim bottom of ears along dotted line.
17. Trace bunny body onto the lining side of the zipper segment, aligning the line on the pattern with the zipper. Mark the two dots at the top of the head.
18. Place 8"x10" lining fabric face down. Layer the 8"x10" outer fabric on top face up. Layer the zipper piece face down on top. Pin layers together. Place pins on either side of the zipper on the opening side. Slide zipper pull down so that it is between the two lines and 2/3rds of the way open. Sew on line starting at one of the dots near the top of the bunny and sew all the way around to the other dot, leaving the top of the head open. Be careful when sewing over the zipper. Stitch back and forth over zipper several times to re-enforce seam.
19. Trim excess fabric 1/4" from seam. Slip bunny ears between the front and back layers and pin along the opening of the head. Ease ears around curve, pinning as you go. Sew on line to close opening.
20. Trim excess batting close to seam. Clip curves. Turn and press. Top stitch 1/4" around bunny body.
21. Sew buttons on face for eyes and nose.
22. Embellish as desired.
If you haven't had a chance to visit the other tutorials yet for the Finish-A-Long Tutorials Week, here is the schedule:
- April 2, 2019 (Tue) - Sandra of Sew of Course
- April 3, 2019 (Wed) - Sarah Z of Cedar Fork Stitches
- April 4, 2019 (Thurs) - Sharla (Me) at Thistle Thicket Studio
- April 5, 2019 (Fri) - Nicole of Handwrought Quilts
~Sharla








He is just so cute! Thanks for the tutorial, I saved it! Also, thanks for letting me know about the other tutorials. I'll check them out.
ReplyDeleteOh wow, how adorable!!! Well done. Nice tutorial.
ReplyDeleteAdorable! A perfect gift
ReplyDelete