Monday, November 30, 2015

Christmas Isn't Christmas Without Cherry Chocolates!

I'm back! Did ya miss me? I'm finally home after a five week vacation with the hubby to visit our kids and spoil the grandkids. I managed to squeeze in a fast visit to International Quilt Festival and the new Magnolia Silos (new home for Fixer Upper's Chip and Joanna Gaines store front); stopped at a few quilt shops, antique stores and flea markets; took in the sights at Branson, and even learned how to blow glass! Can't wait to share with you some of the goodies I came home with over the next few weeks, but today was filled with laundry, unpacking, and making food for a ladies luncheon I'm helping with tomorrow.

Tomorrow is National Giving Day and with the Christmas season upon us, the theme for this luncheon is gifts and giving. One of the things I made is homemade chocolate covered cherries nestled in little gift boxes that will be placed at each table setting.

For our family, it's not Christmas until the cherry chocolates are made. I'm not sure how this tradition started in our family, but I remember my mom making cherry chocolates every year. Somewhere along the line, I took over the cherry chocolate making and now my mom makes all kinds of brittle - peanut, cashew, almond. Mmmmm!

So today, I thought I'd share my mom's recipe for cherry chocolates. Maybe it will become one of your Christmas traditions too.

Chocolate Covered Cherries

Chocolate Covered Cherries Recipe by Thistle Thicket Studio. www.thistlethicketstudio.com

  • 1 stick butter, melted
  • 1 - 2 lb. bag powdered sugar
  • 1 can sweetened condensed milk
  • 1 large jar maraschino cherries
  • 1 - 14 oz. package semi-sweet chocolate chips
  • 1/2 cake paraffin wax
Combine melted butter, sugar and condensed milk in a large bowl. Stir and knead fondant mixture until smooth. Cover with plastic wrap and chill in refrigerator 1-2 hours.

Chocolate Covered Cherries Recipe by Thistle Thicket Studio. www.thistlethicketstudio.com
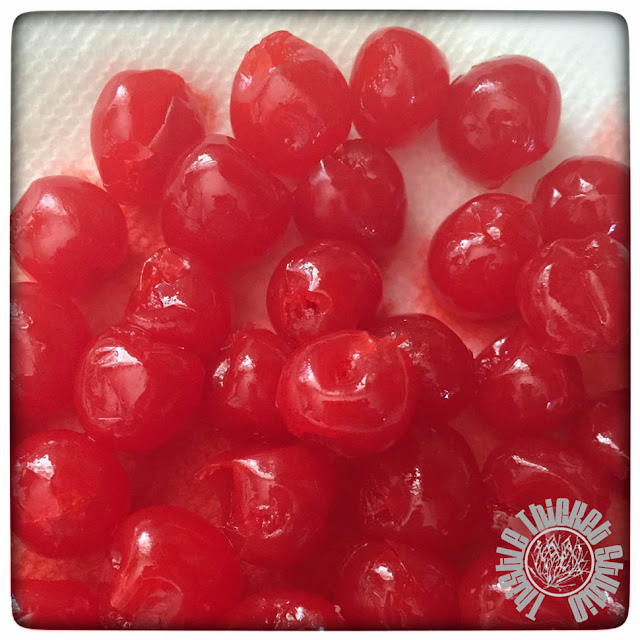
Drain cherries and pat dry with paper towels.

Chocolate Covered Cherries Recipe by Thistle Thicket Studio. www.thistlethicketstudio.com
Pinch a 1/2" - 1" ball of fondant, flatten and gently wrap around cherry.

Chocolate Covered Cherries Recipe by Thistle Thicket Studio. www.thistlethicketstudio.com
Place on waxed paper covered cookie sheet. Freeze fondant covered cherries until solid.

Melt chocolate chips and wax in a double boiler. Poke a toothpick into a fondant covered cherry and dip in chocolate to cover. Place in miniature paper cupcake liners. Store in air tight container.

Chocolate Covered Cherries Recipe by Thistle Thicket Studio. www.thistlethicketstudio.com
Hope you enjoy this recipe as much as my family does!

~Sharla


Monday, November 16, 2015

Grandma's French Pastry

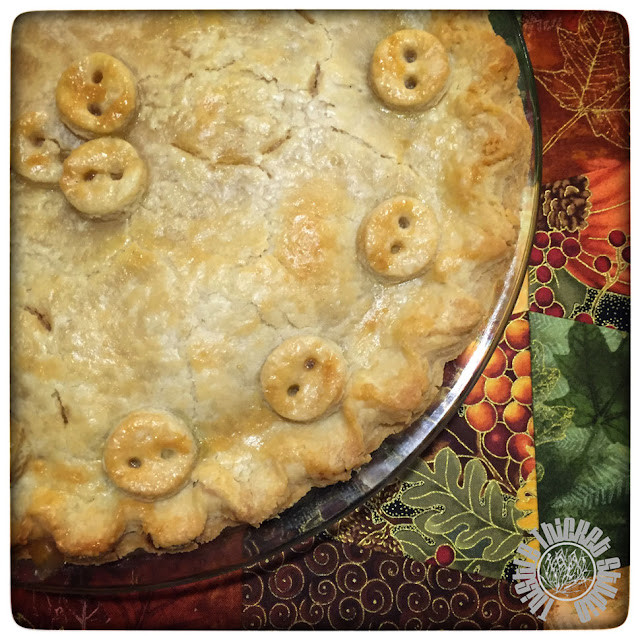
Recently, I spent the day with my quilty friends. We get together to sew, share our latest projects, laugh, and eat. We have a carry-in luncheon and the food is always delish. At our last sew day, I made a homemade peach pie, using my Grandma's pie crust recipe. I even decorated the top with buttons made from pie dough. Sew cute!
Pie With Button Details by Thistle Thicket Studio. www.thistlethicketstudio.com

My Grandma was an awesome cook. Her homemade pies were to die for. And her homemade egg noodles. And her fried chicken. And her dill pickles. Mmmmm, I'm making myself hungry! I love this picture of my grandma in her younger days cooking at this old stove. It's how I remember her, always in the kitchen cooking.

Today, I'm sharing my Grandma's French Pastry recipe just in time for your holiday baking. I hope you enjoy it as much as I always do.

---------
Grandma's French Pastry
 
3 cups flour
1 1/2 teaspoons salt
1 cup lard ( or 1 1/4 cups shortening)
1 egg
4-5 tablespoons cold water
1 teaspoon vinegar
 
Stir flour and salt together. Cut in lard/shortening. Mix egg, water and vinegar together and add to dry mixture. Knead. Let stand for 10 minutes. Roll out. Makes 2 double crust pies.
--------- 

Just an FYI: I think today's pie pans are larger than my grandmother used, so I can never get two double crusted pies from this recipe.

~Sharla

Monday, November 9, 2015

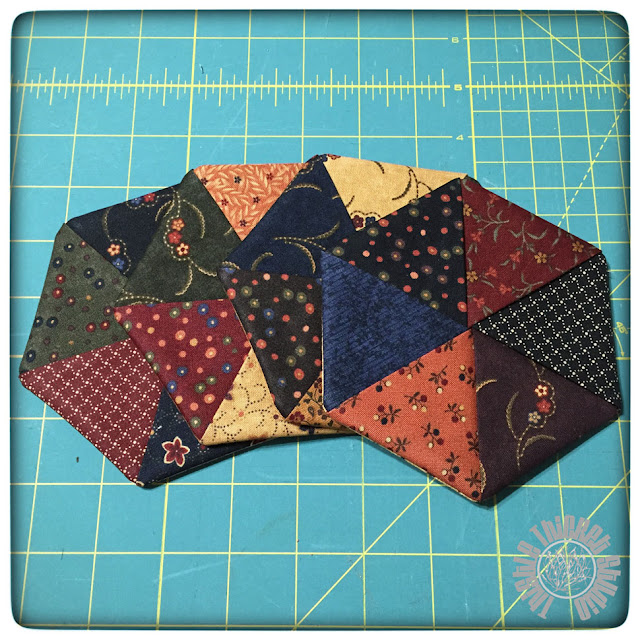
5 Minute Hexie Coasters Tutorial

Need a fast handmade gift this holiday season? Here is one sure to please everyone on your gift giving list - the 5 Minute Hexie Coaster!

5 Minute Hexie Coasters Tutorial by Thistle Thicket Studio. www.thistlethicketstudio.com
These are so fast and fun to make, so I thought I'd share a tutorial with you today.

5 Minute Hexie Coasters Tutorial by Thistle Thicket Studio. www.thistlethicketstudio.com
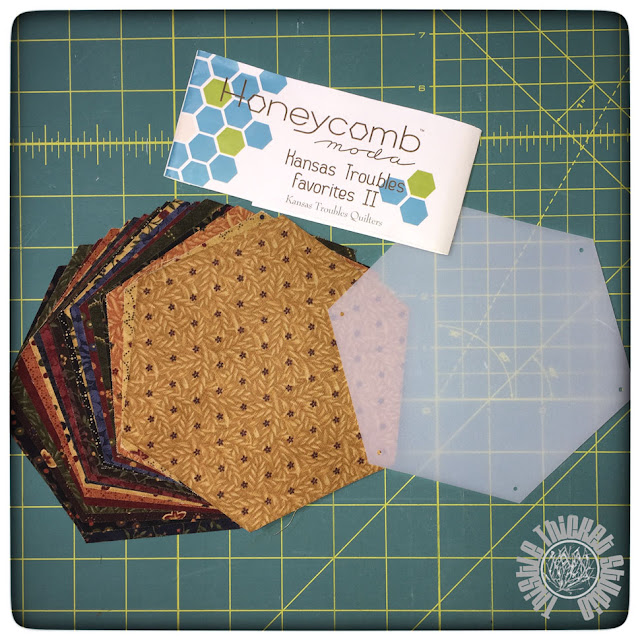
You'll need one Honeycomb precut in your favorite fabrics, plus 2 additional hexies cut from yardage to make 6 coasters.

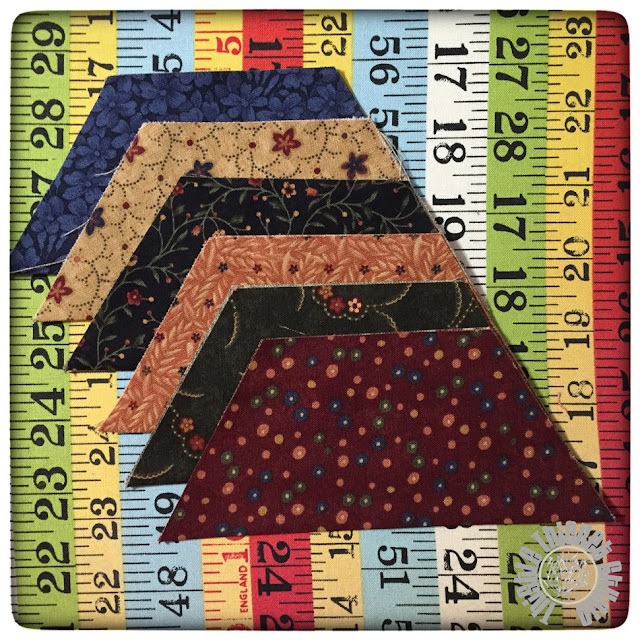
Each coaster uses 7 hexies - one for the back and 6 for the front.  Press the 6 front hexies in half, folding at the points.
5 Minute Hexie Coasters Tutorial by Thistle Thicket Studio. www.thistlethicketstudio.com

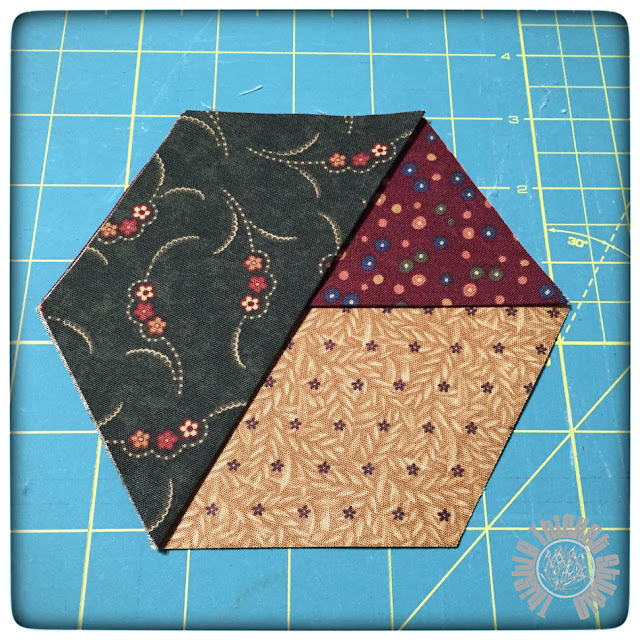
Place the backing hexie right side up. Layer one of the folded hexies on top, lining up the edges. Hexie 1 on backing:
5 Minute Hexie Coasters Tutorial by Thistle Thicket Studio. www.thistlethicketstudio.com

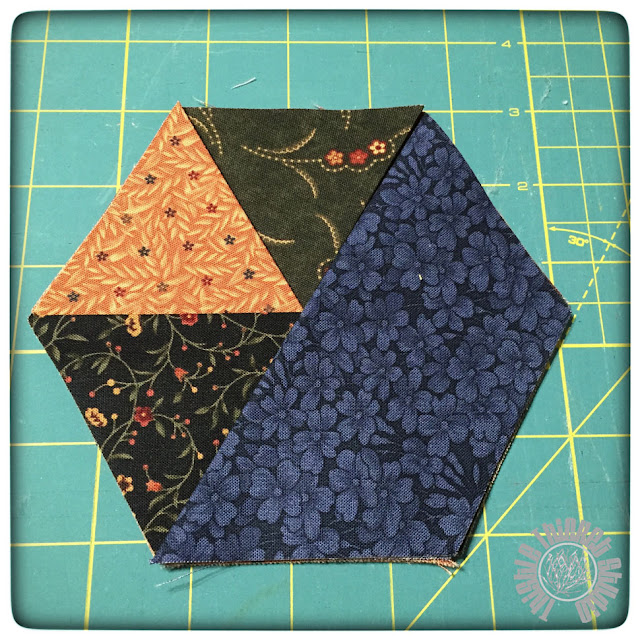
Working clockwise (or counter clockwise, it doesn't matter which direction as long as you continue working in the same direction around the hexie), continue layering the folded hexies around the backing hexie. Hexie 2:
5 Minute Hexie Coasters Tutorial by Thistle Thicket Studio. www.thistlethicketstudio.com

Hexie 3:
5 Minute Hexie Coasters Tutorial by Thistle Thicket Studio. www.thistlethicketstudio.com

Hexie 4:
5 Minute Hexie Coasters Tutorial by Thistle Thicket Studio. www.thistlethicketstudio.com

Hexie 5:
5 Minute Hexie Coasters Tutorial by Thistle Thicket Studio. www.thistlethicketstudio.com

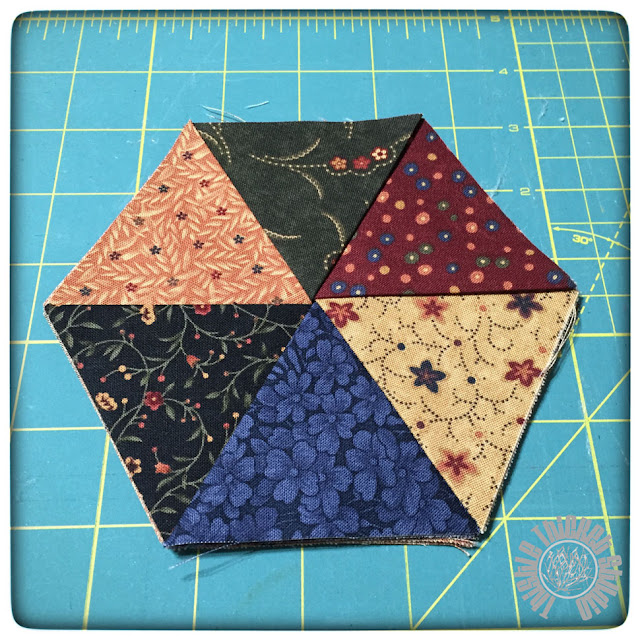
Hexie 6:
5 Minute Hexie Coasters Tutorial by Thistle Thicket Studio. www.thistlethicketstudio.com

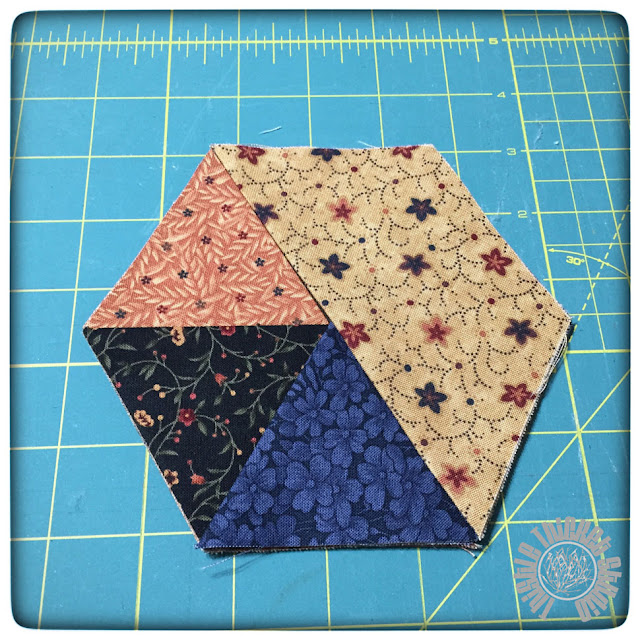
Holding the corner of the last hexie placed, lift the corners of the last two hexies and bring the corners from the first two hexies to the top.
5 Minute Hexie Coasters Tutorial by Thistle Thicket Studio. www.thistlethicketstudio.com

The coaster should have this pie-shaped look:
5 Minute Hexie Coasters Tutorial by Thistle Thicket Studio. www.thistlethicketstudio.com

Sew around the stack of hexies using a 1/4" seam, pivoting and turning at each corner. Pin to hold the hexies in place if desired.
5 Minute Hexie Coasters Tutorial by Thistle Thicket Studio. www.thistlethicketstudio.com

Trim the corners, then turn the hexie inside out. Press. Top stitch 1/4" around the coaster if desired. I liked the look without topstitching.
5 Minute Hexie Coasters Tutorial by Thistle Thicket Studio. www.thistlethicketstudio.com

Add a cute mug with packages of hot chocolate or cider mix and you have a quick and cute gift!

~Sharla


Monday, November 2, 2015

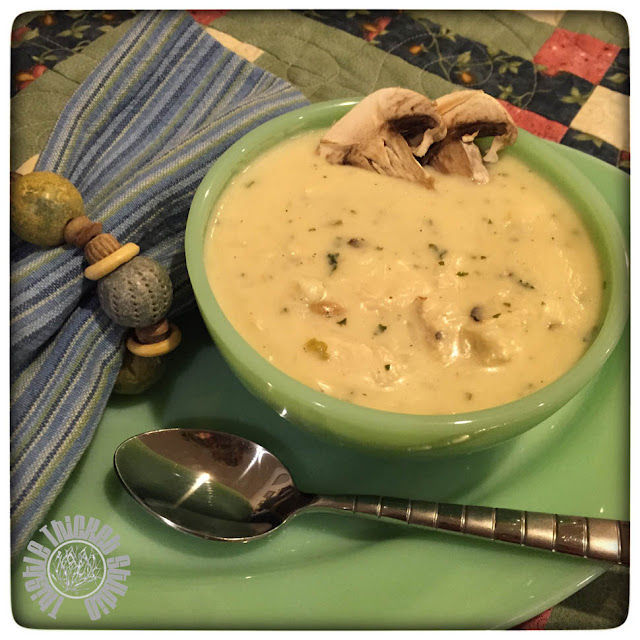
Fall Favorite - Chicken & Wild Rice Soup

I love when fall arrives and the temps cool down. It makes me want to curl up with a quilt and have a hot bowl of soup in the evenings. One of my favorite go-to soups is Chicken and Wild Rice Soup. Its so rich and creamy. I love it and I think you will too, so I thought I'd share!

Chicken & Wild Rice Soup recipe available at www.thistlethicketstudio.com

Chicken and Wild Rice Soup

4 cups chicken broth
2 cups water
2 cooked chicken breasts, cubed
1 cup fresh mushrooms, sliced (optional)
1 - 4.5 oz. package of quick cooking long grain and wild rice
1/2 teaspoon salt
1/2 teaspoon pepper
3/4 cup flour
1/2 cup butter
2 cups heavy cream

In a large pot, combine broth, water and chicken. Bring to a boil, then stir in rice, reserving seasoning packet. Add mushrooms if desired.

In saucepan, melt butter. Stir in seasoning packet, Cook until bubbly, Reduce heat, stir in flour, salt and pepper to form roux. Whisk in cream, cook until thickened. Stir cream mixture into broth. Cook 10 minutes.

Happy eating!

~Sharla