Monday, November 29, 2021

Getting My DIY On With Homemade Burn Gel

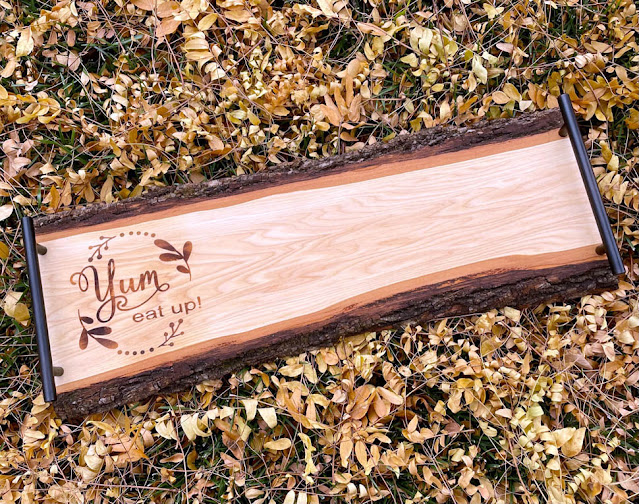
Charcuterie Board Designed & Made By Thistle Thicket Studio. www.thistlethicketstudio.com
For Thanksgiving this year, I joined the charcuterie craze and made my first charcuterie for our evening meal following the big Thanksgiving dinner at lunch. Of course, I had to make my own charcuterie boards and they turned out so well that I had to make one for my women's gift for our Christmas gift exchange. And since we can't all be together at Christmas, we had our gift exchange during our family Thanksgiving vacation so I can share my DIY gift early!

Charcuterie Board Designed & Made By Thistle Thicket Studio. www.thistlethicketstudio.com
I stumbled upon a video online that showed someone using a 'magic' gel that they painted a design on wood using a stencil then burned it into the wood using a heat gun. It looked like fun and oh-so-cool so, of course, I had to try it. I ended up spending more than $50 to make my $25-gift-exchange-limit gift but that was mostly for the heat gun that I didn't have.

Charcuterie Board Designed & Made By Thistle Thicket Studio. www.thistlethicketstudio.com
I made my stencils using my Silhouette Cameo 4, placed them on my slab of wood, and painted a thin (emphasis on thin!) layer of burn gel over the openings of the stencil. Then I removed the stencil and using the heat gun, blew hot air over the burn gel until it scorched the wood. Easy Peasy!

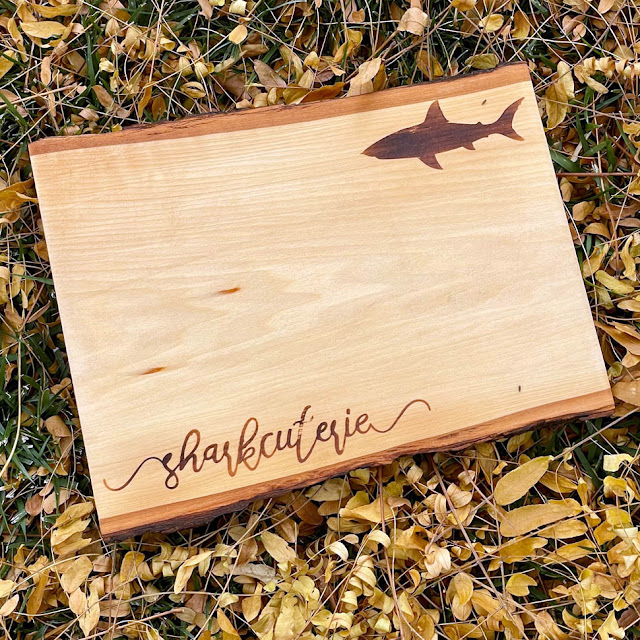
Charcuterie Board Designed & Made By Thistle Thicket Studio. www.thistlethicketstudio.com
I love how the 'k' blends in with the natural knots in the wood on this board!

So, without further ado, here is the 'magic' burn gel recipe:


DIY Wood Burning Gel

1 tablespoon Ammonium Chloride

8 teaspoons Thick It

1/2 cup warm water

2 drops yellow food coloring

Mix the ingredients in a glass jar. It will turn to a gel very quickly. The yellow food coloring is to help show where you have painted the gel. You can store the leftover gel in an airtight jar. 


Tips, Tricks and Other Info:

  • I bought my wood slabs at Hobby Lobby. I wanted the hubby to help me cut some dead trees down and make my own live edge wood slabs but that didn't happen so I used the live edge slabs at HL. They are made of basswood and are a soft wood - probably not the best type of wood to make charcuterie boards. 
  • I used a stencil vinyl to make my design. I had some difficulty getting the stencil vinyl to stick to the wood to begin with. When I started laying a sheet of paper over the vinyl and rubbing the stencil down using a vinyl scraper tool, I had great contact.
  • Apply a very thin layer of the burn gel on the wood to get sharp edges on your design. I put a thicker layer on my first attempt and the gel soaked into the wood and I had blobby edges after I burned the gel. Luckily, all I had to do was sand the wood back down and was ready to start over. 
  • Keep your heat gun moving so that you don't scorch the area around the design and darken it. It takes a little while for the gel to heat up and begin to burn, so be patient. The longer you heat the gel, the darker it will get.
  • After burning and cooling the wood, I applied a food grade mineral oil all over the board to help seal the wood from food contaminants.
Charcuterie Board Designed & Made By Thistle Thicket Studio. www.thistlethicketstudio.com
I used a variety of sizes of boards. On two of them, I bought cabinet drawer handles and attached them to the ends of the board for handles. On the board I gifted, I glued wooden balls for feet to the bottom over the screw holes to hide the screws. I thought it really added some flair to the board. 

Charcuterie Board Designed & Made By Thistle Thicket Studio. www.thistlethicketstudio.com

Charcuterie Board Designed & Made By Thistle Thicket Studio. www.thistlethicketstudio.com
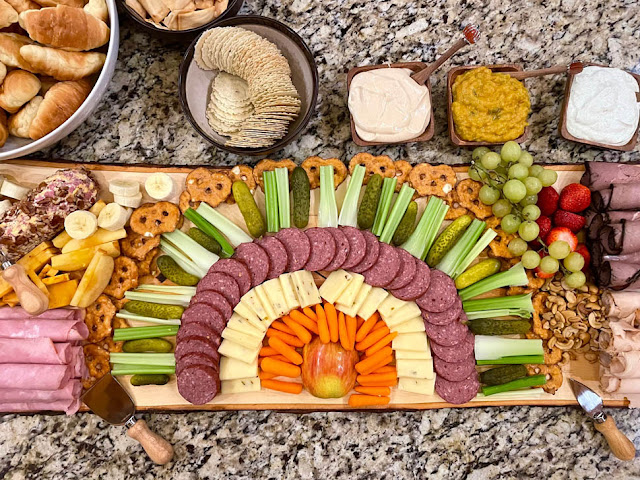
Here's a couple of photos of my Thanksgiving charcuterie boards. I finally gave up on making my turkey designed board because my grandsons were hungry and kept stealing food off my board faster than I could put them on, so my turkey needs some help! Lol! But the charcuterie was a big hit and a nice change from the heavy Thanksgiving lunch. 
 
Charcuterie Board Designed & Made By Thistle Thicket Studio. www.thistlethicketstudio.com
I hope I've shared enough info to answer any questions you may have. I watched several You Tube videos before I started, so you can check them out for additional information. 

Happy Crafting!

~Sharla


Friday, November 19, 2021

Happy Halloween Pillow

I didn't get this pillow completed in time for Halloween but I'm still super stoked about this finish! And Halloween will be here again before we know it!

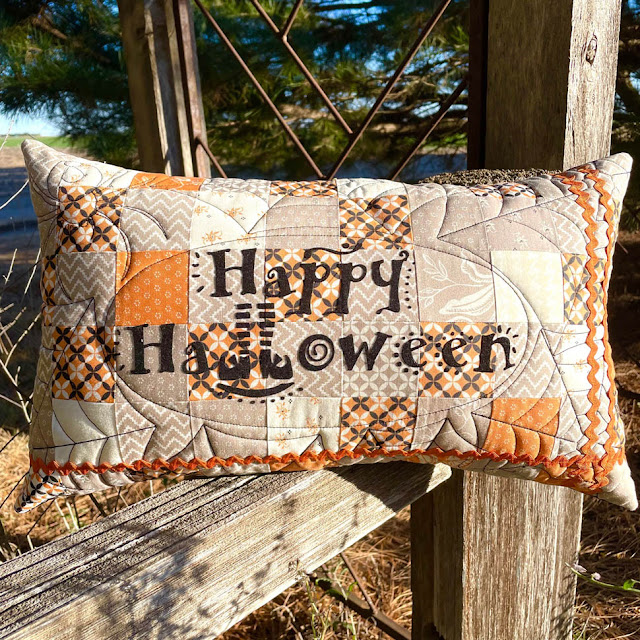
Happy Halloween Pillow Designed By Thistle Thicket Studio. www.thistlethicketstudio.com
I made this pillow from 2 1/2" strip scraps from my Pumpkin Squared quilt that I will be sharing in the near future. I cut the scraps into 2 1/2" squares and pieced them into a 10" x 20" rectangle. I then designed a Happy Halloween SVG for my Silhouette Cameo 4. Using flocked heat-transfer vinyl, I fused the design to the my pieced rectangle. I've never used flocked HTV before, but I absolutely love it in this application. 

I custom quilted my pillow top using a spider and cobwebs around the HTV. After quilting, I added some rick rack, which I love too. 

Happy Halloween Pillow Designed By Thistle Thicket Studio. www.thistlethicketstudio.com
For the back of the pillow, I used a decorative scalloped zipper for easy access for stuffing my pillow. I love, love, love this detail and will definitely be using more zippers in my pillow backs in the future.

Happy Halloween Pillow Designed By Thistle Thicket Studio. www.thistlethicketstudio.com
Soon I'll share the quilt that coordinates with this pillow and even share the pattern, so stay tuned!!

Happy Quilting

~Sharla

Leave A Comment