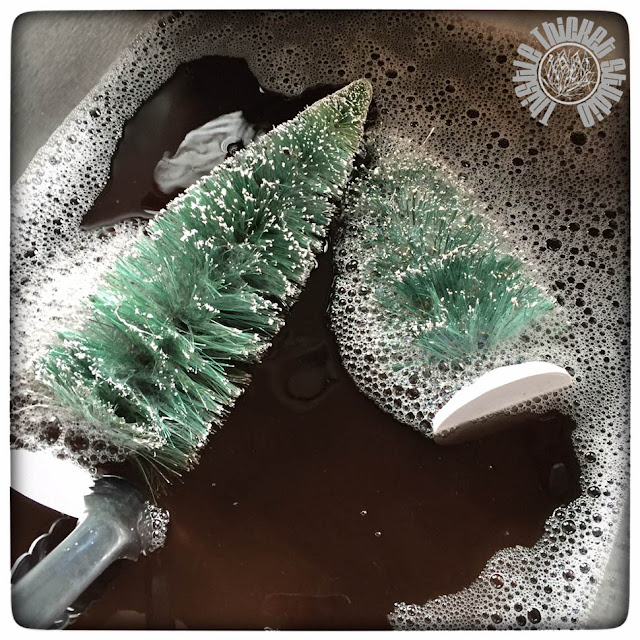
First, the trees need to be bleached to remove their green coloring. We filled the kitchen sink with approximately 4" of hot water and added bleach. We didn't measure how much bleach we put in but it wasn't more than a fourth of a gallon jug. The water will turn dark and dirty as the trees are bleaching. We changed our bleach water after the first initial bleaching and bleached the trees again. We left the trees in the bleach water for 10 - 15 minutes each time and then rinsed them under warm running water.
After our trees dried over night, we decided they still weren't white enough and ended up bleaching them again after test dyeing one tree. The coloring on our test dyed tree was dirty looking and not a bright, pretty color. Some of the trees we pulled out early while there was still a hint of green and didn't dye them (see the tree in the bottom right corner). My sister-in-law decided to not dye her trees because she liked the bleached look so well.
We used Rit liquid dye in fuschia, aquamarine and teal. We filled pint canning jars with hot water and added 1 teaspoon of liquid dye. Unfortunately, the aquamarine and teal colors were too close to the same and you really can't distinguish a difference.
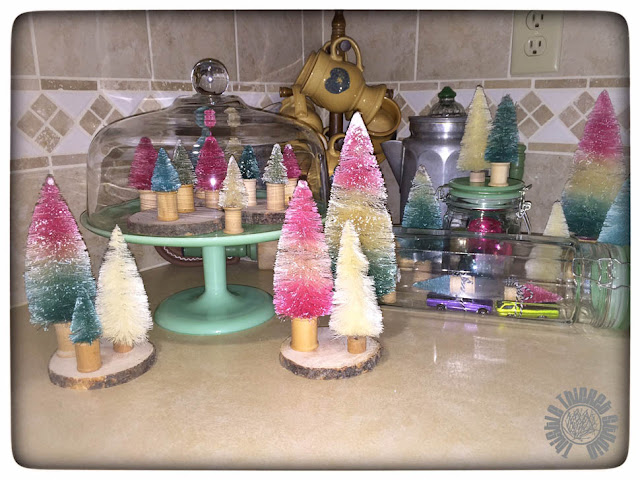
Some of the trees we 'candy corn' striped by dipping one end in the fuschia and the other end in the teal. And some trees we tried an ombre effect by dipping one end of the tree in dye and leaving the other end bleached. I definitely want to find some different colors of dye and add to my forest in the future!
I created a little forest scene in a corner of my kitchen using a jadeite cake plate and new jadeite glass topped jars I found at World Market (love them!).
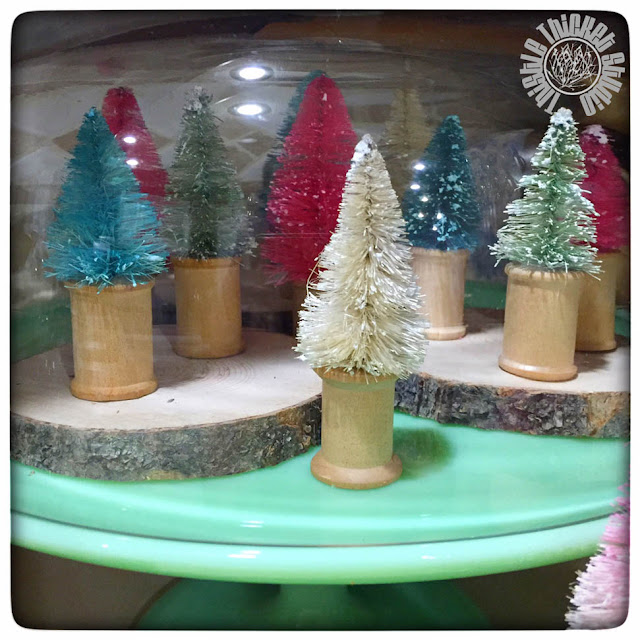
A close up of my trees under glass. Eventually, I may add some decoration to the spools, such as tying jute bows on them or something. Don't you love the slabs of wood my brother cut and gave me?
I laid a jar on its side and added a couple of my hubby's Hot Wheels cars with trees tied to them. So fun and cute!
I saw the cutest star made out of bottle brush trees that is next on my to-do list. They simply took 5 bleached trees and glued the bottoms together in a star shape. A wreath would be cute too. Oh, the ideas are endless! I would love to hear how you would use bleached or dyed bottle brush trees in your décor, so comment away!
~Sharla


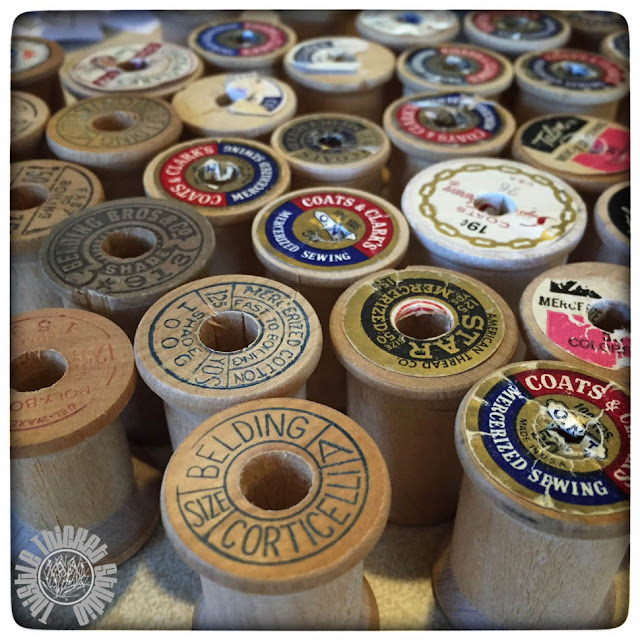
Great trees but I really really envy your collection of wooden cotton reels!
ReplyDeleteA happy Christmas to you and yours Sharla x