It turned out so awesome that I thought I'd share a few photos of the process. I had determined that I wanted the clock to be 3 feet tall so a drew a grid in Microsoft Publisher that was 13 squares by 13 squares. The lines on the grid were spaced at 1/2" intervals. Each square on the grid represents 3". I found a photo of the outline of Texas and placed it over the grid, enlarging it to fit my grid.
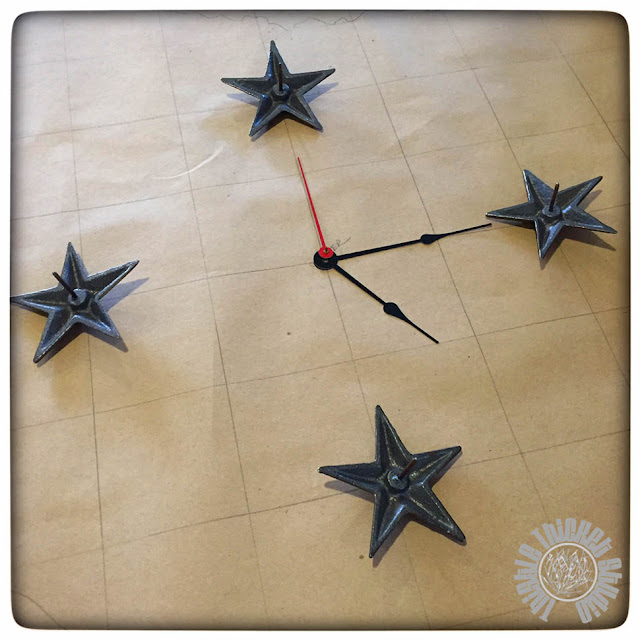
Next, I drew out my 13 square by 13 square grid on brown craft paper. The lines of the grid were spaced 3" apart. Then, using the outlined shape that I printed on the grid for a pattern, I drew out the shape of Texas, one square at a time. By breaking down the outline into 3" segments, it was really easy to draw an accurate Texas shape. After the shape was drawn, I laid out my clock parts on the grid and marked where I wanted them to be placed. I purchased a clock kit at Hobby Lobby and found the Texas stars at the Fredricksburg Trade Days, but they are readily available at a wide variety of places.
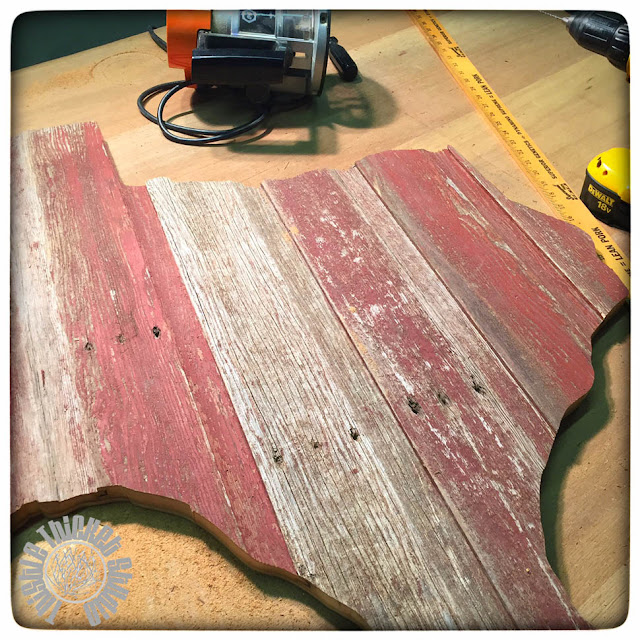
To make it more manageable, we cut the paneling down smaller by cutting all the way around my Texas shape approximately 3" outside my drawn lines. We (this is where the hubby started helping me) determined where we wanted the center piece of barn wood to be placed on the paneling, making sure that there was adequately sized pieces around all the edges. You don't want to end up with a sliver of wood on the edge that will be to small to attach or that will break off easily. After we determined where the center board would be placed, we drew a straight line vertically as a guide to line up that first board and clamped it in place. Then we screwed the board into place from the back paneling side. From there, we worked out from the center attaching the boards to the paneling from the back. The barn wood we used was tongue and groove boards so the boards fit together nice and snug. As you can see in the photo, we cut the boards just long enough to extend beyond the edge of the paneling.
Once the barn wood was attached, we flipped the wood over so the paneling was facing up and cut out the Texas shape that I had drawn using a jig saw. By cutting with the back side up, it left a nice clean edge on the front of the barn wood.
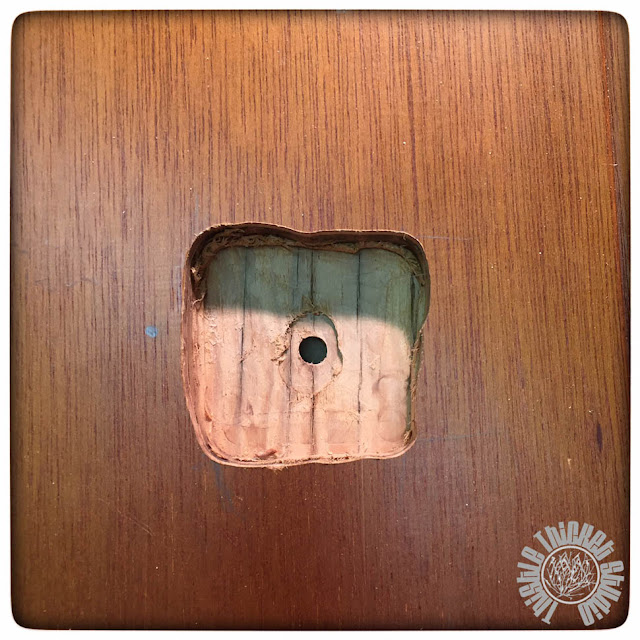
Since the center hub of the clock kit was not long enough to reach from the back of the clock to the front, we had to router a space into the back side of the clock to fit the clock mechanism in. First we drilled the center hole where the clock hands would be positioned, then routered a little at a time, checking the depth after each pass until we had it deep enough. I know it's not the prettiest routering job but it worked and no one will ever see what the back side looks like (thank goodness!).
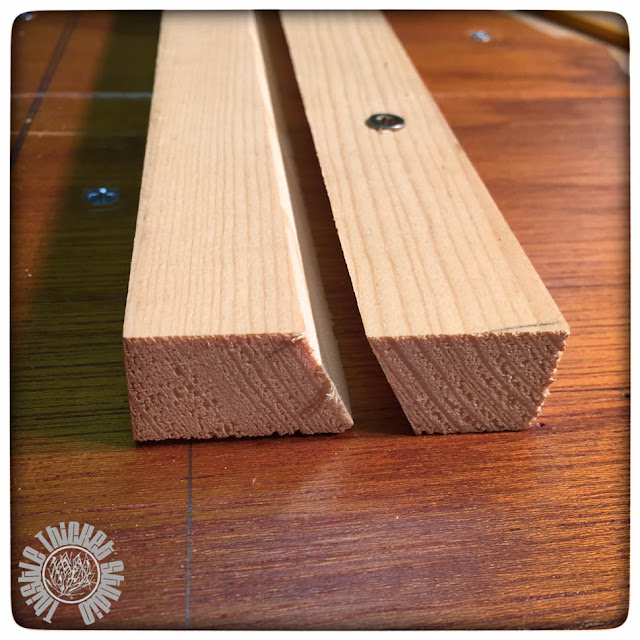
Lastly, we made a hanging cleaver bracket for the back by cutting a 1" x 3" board in half at a 30 degree angle. One half was attached to the back side of the clock and the other half was attached to the wall when we hung the clock. The clock then just rests on the bracket. Another 1" x 3" piece of board was attached on the backside of the clock toward the bottom so that the clock would hang parallel to the wall.
The last step was to attach the stars and clock hands to the front. Using the template pattern, I marked the location where each star would be nailed. Ta-Da! One Texas-sized barn wood clock for our Texas girl! It was so fun to see her face when we gave it to her. She was so excited!
I also found time to make my SILs and nieces vintage button and typewriter key necklaces. Each necklace had the typewriter key of the initial of their first name. Unfortunately, I only got a photo of one of the necklaces.
I also found this cute little vintage pig planter while antiquing this fall and turned him into a pincushion for my mom who collects pigs. I added a hexie flower made from 3/4" hexagons to the pincushion. Isn't he so cute!
I didn't get all of my Christmas projects completed though. Another present for my mom - a vintage Singer featherweight sewing machine folding table - still has to be refinished but the temperatures and time just didn't cooperate to get it finished before Christmas. I'll share how I refinish it in a future post, so stay tuned!
What handmade Christmas gifts did you make this year? Please share, I'd love to hear!
~Sharla

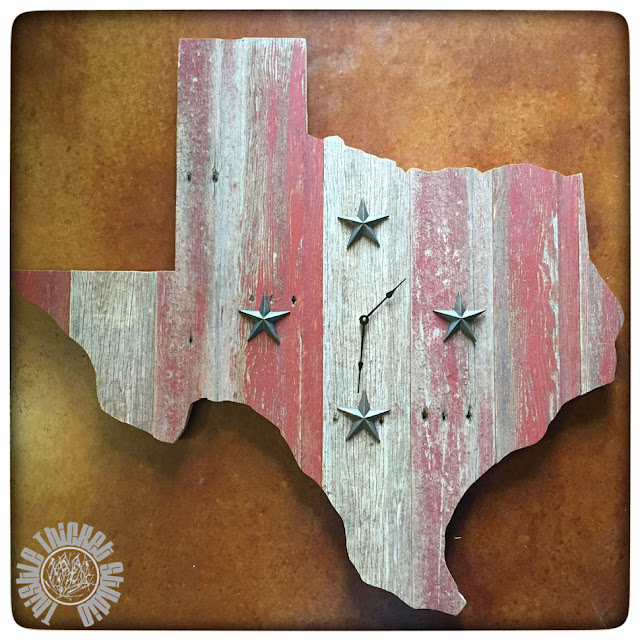





What a great clock that turned out to be! Lucky daughter : )
ReplyDeleteHappy New Year to you and yours -
however while not the right table, your router isn't nearly as effective. Since you are already a craftsman, rather than allotting huge bucks to shop for a table, you'll simply build your own exploitation router table plans.
ReplyDeleteTexas barn wood clock is so amazing and its look is also very modern and advanced. I loved the Jigsaw of this show and it is great clock indeed.
ReplyDelete