Can you believe we have reached the end of the Whirl & Twirl Sew-Along?! Where did March go? Today we’re going to talk about finishing our quilts.
Backing
Trim the selvedge edges from the two backing rectangle pieces. Sew the two 72” x WOF backing rectangles together along the selvedge side. Backing should measure 72” x 86” (approximately). I love a scrappy back so I used my leftover layer cake squares and border strips and sewed a pieced stripe in between the backing pieces.
Quilting
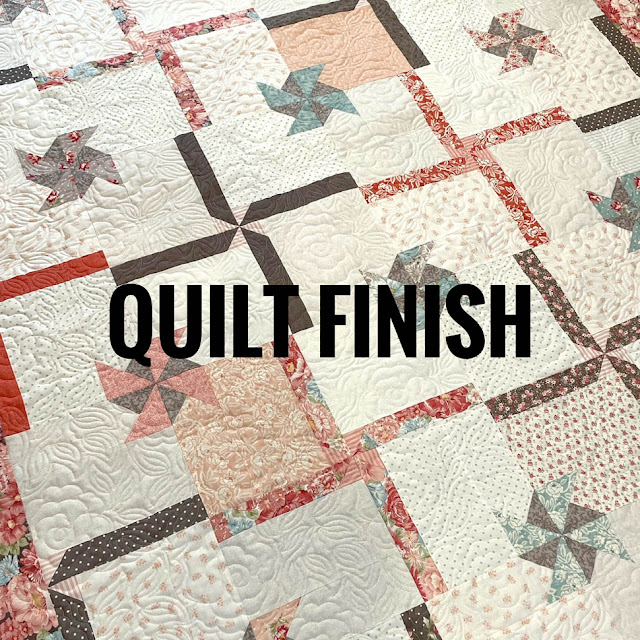
Layer your quilt top, batting & backing. Quilt as desired. I machine quilt my quilts on a computerized longarm. The first Whirl & Twirl quilt I custom quilted with dense quilting around the pinwheels which really made the pinwheels pop. But the quilt is quite stiff. So this time I quilted an all over floral pattern for a softer touch & drape. I love both!
Trim the selvedges from the ends of the 8 - 2 1/2” binding strips. Sew the binding strips end-to-end at a 45 degree angle. Fold the binding in half lengthwise and press. Attach binding using your favorite method. I attach my binding by machine sewing the binding to the front using a 3/8” seam. I fold the binding over & hand stitch the binding to the back using a small ladder stitch. There are some great You Tube videos on how to miter the corners of the binding & how to connect the ends of the binding for a continuous smooth binding. I am currently working on my binding & will share photos next week (when these 50 mph wind gusts predicted for the next few days hopefully settle down!)
Please share your finished quilt using the hashtag #whirlandtwirlsewalong on Facebook and Instagram and tag me so I can see your quilts! Can’t wait!

