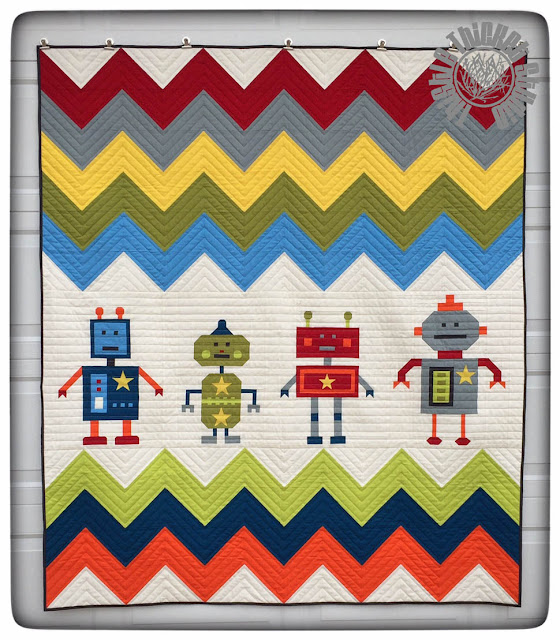
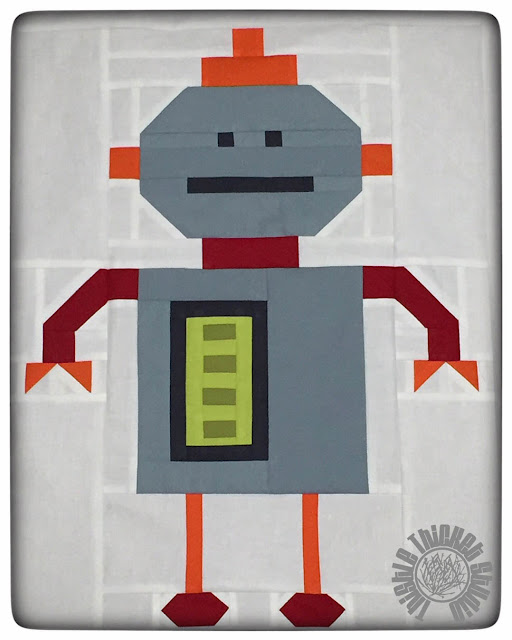
I'm so excited to share with you my finished "Robots All In A Row" quilt that I designed for my grandson for his birthday. It turned out even better than I imagined!
The idea for this quilt came from fabric that I found last summer when on our Row by Row girls road trip. My grandson is turning 2 this month and ready to leap out of his crib so his bedroom is getting a new robot themed décor along with a new 'big boy' bed.
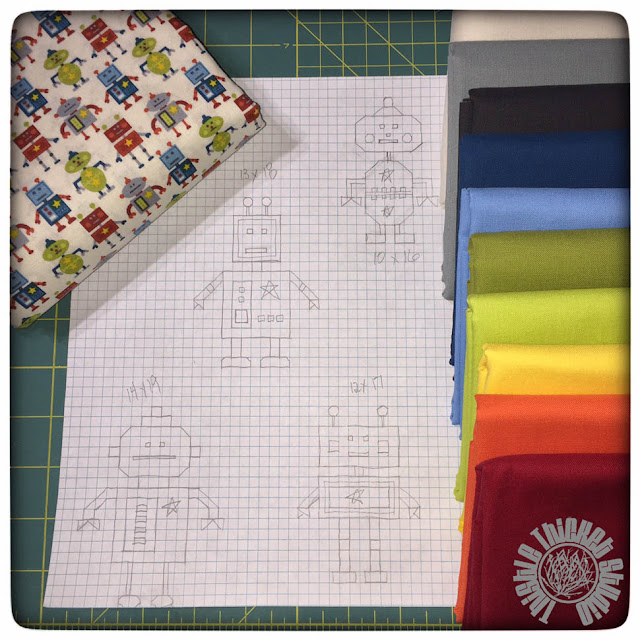
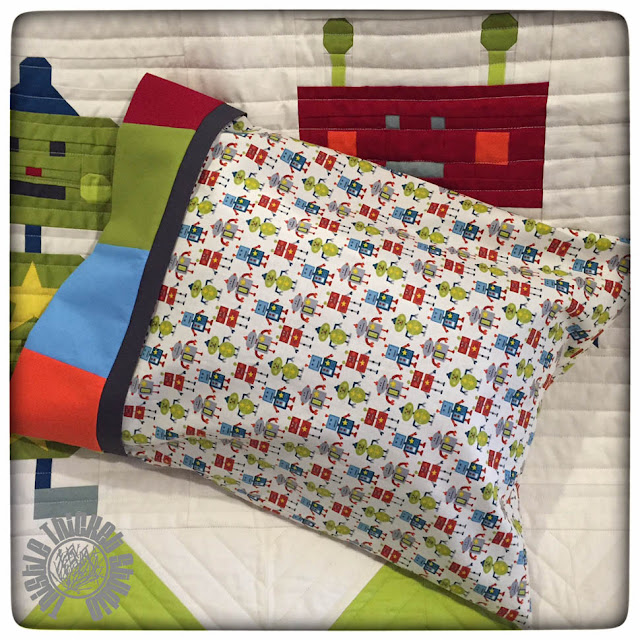
I decided to design robot blocks modeled after the robots in this fabric by Makower UK called "Little Monsters Robots" by The Henley Studio. I'm a visual and tactile person, so I like hand drawing my designs out on grid paper even though I have the Electric Quilt (EQ) program. I matched up the colors in the robots with Kona Cotton solids. Although my original plan was to use the robot fabric in the front of the quilt, as the design evolved the robot fabric ended up being used as the backing.
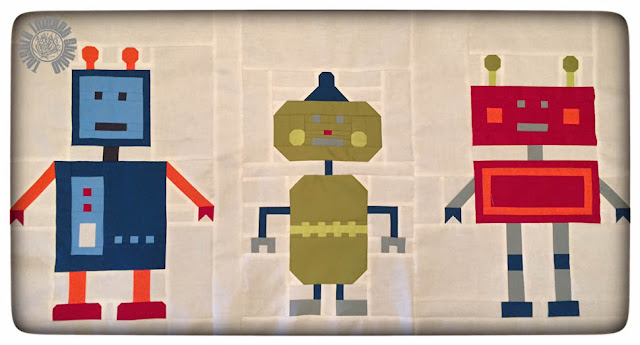
After a sewing weekend with family at the end of January, I made a good start on my blocks, finishing all but one.
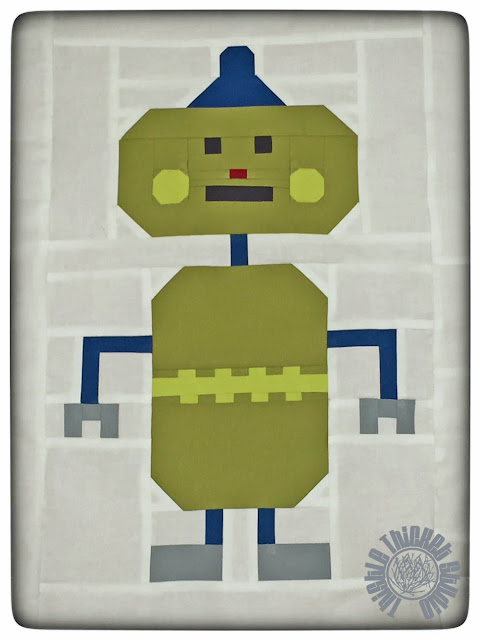
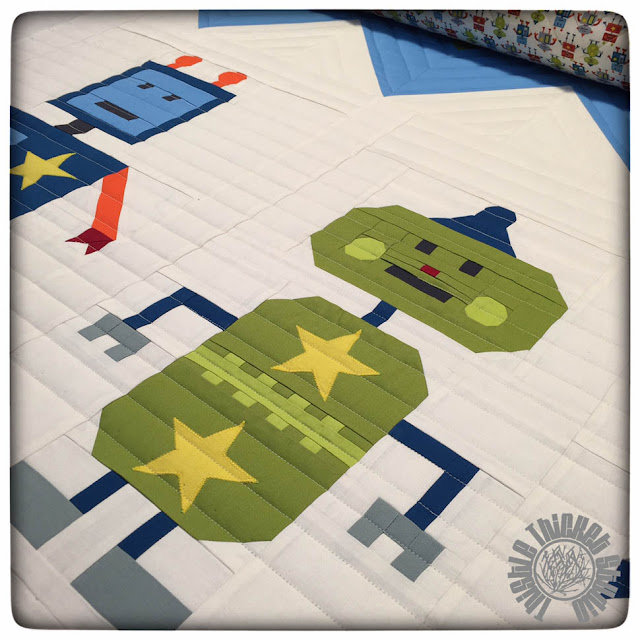
But after looking at that green robot for a week, I knew I needed to change the color of his eyes and mouth. His face just disappeared. So I ripped out the center of the face and replaced the eyes and mouth with a darker gray. Much better!
And then I finished the last robot the following weekend.
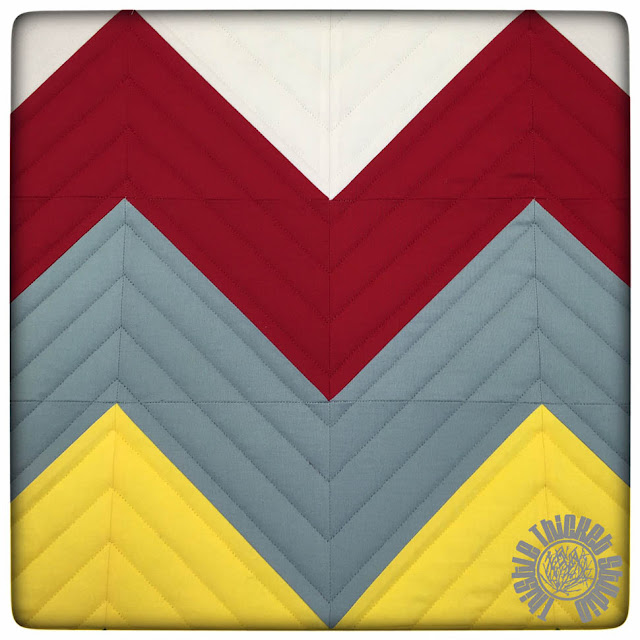
Since the one thing being carried over from the nursery décor in my grandson's bedroom is the chevron rug and curtains, I decided to set the row of robots in a field of chevrons. It didn't take long to get the quilt top done then and onto the quilting machine.
I decided to quilt a simple design of lines across the robots and echoed the chevrons with the same lines. I really like how the quilting emphasizes the chevrons and gives it a modern feel.
With my leftover scraps of fabric, I made a matching pillow (travel size).
And I managed to get it labeled! Something I'm not very good about.
Can't wait to see my grandson's reaction to his big robots! At two years old, he won't understand the work that went into this but hopefully he will understand the love. And at 60" x 70", he'll be able to enjoy it for many years to come.
~Sharla
Friday, February 19, 2016
Monday, February 15, 2016
Howdy Y'All: Moda Bake Shop Birthday QAL
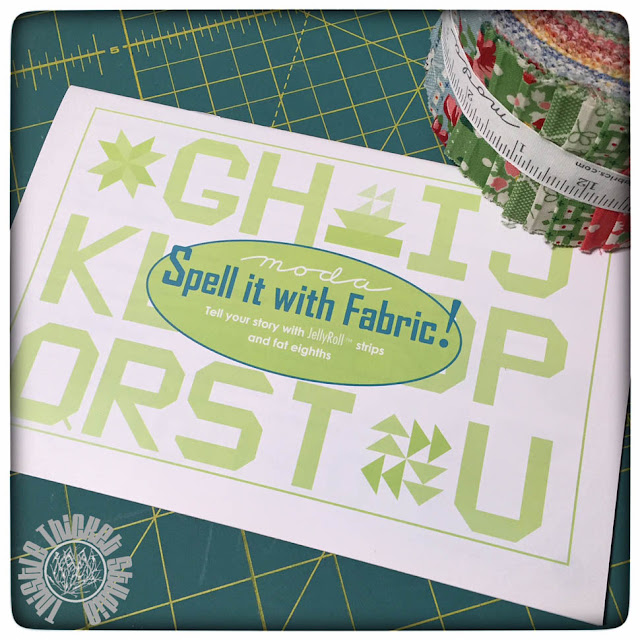
I've mentioned before that Moda Bake Shop is celebrating its 7th birthday with a MBS ABC Quilt-Along and I'm one of the co-hosts. Each of the co-hosts were chosen because they submitted design ideas using the Spell It With Moda patterns and a filler block of their own design. I haven't shared my design yet, so thought I'd share today. My design, "Howdy Y'all", is inspired by my farm girl roots and Moda's home in the great state of Texas.
I envision this quilt as a banner hanging on the split rail fence on our farm - a friendly southern welcome to all who visit. But, it could be a wallhanging or table topper as well.
Later down the road, I will be sharing my filler block pattern - the cowboy boot - on Moda Bake Shop, along with finishing instructions to make my 36" x 55" quilt.
Because I wanted to make my quilt with a country farm girl feel, I am using a jelly roll of Bread 'n Butter by American Jane and yardage of American Jane Pin Dot - Lorraine Ivory 21098 111 for my background.
This weekend I drafted instructions for my cowboy boot pattern and tested it. I used scraps in a red and blue color palette that would match my grandson's western/cowboy bedroom décor and made it into a pillow for his bed.
If you'd like to join me in celebrating Moda Bake Shop's 7th birthday, follow me on Instagram and Facebook where I'll be posting as I begin sewing my quilt. I'll be starting soon by making my Howdy Y'all letter blocks. You can find the letter patterns on Moda's Pinterest site here or you can purchase their Spell It With Fabric! pattern booklet at your local quilt shop.
I hope you'll join in and sew along with me - it should be a boot scootin', rootin', tootin' good time!
~Sharla
P.S. UPDATE!!!
I forgot to tell y'all that there are prizes with the Moda Bake Shop ABC QAL! How could I forget! Anyway, the first week prize drawing has just been announced on the Moda Bake Shop site, so click here to find out how to enter!
Wednesday, February 10, 2016
We're Doing It Again!
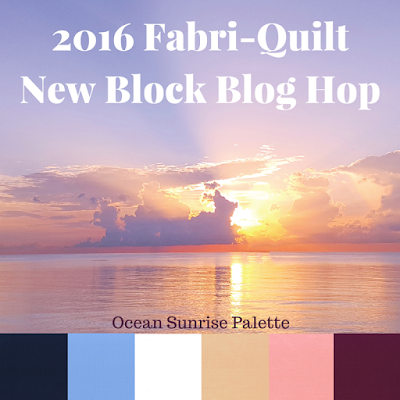
Yes! Fabri-Quilt is sponsoring another New Block Blog Hop on March 28, 29 & 30th! And I'm designing another block for this event!
Actually, I have already designed my block and this weekend I'll be making a test block and starting to write my tutorial for my day - March 30 - on the blog hop.
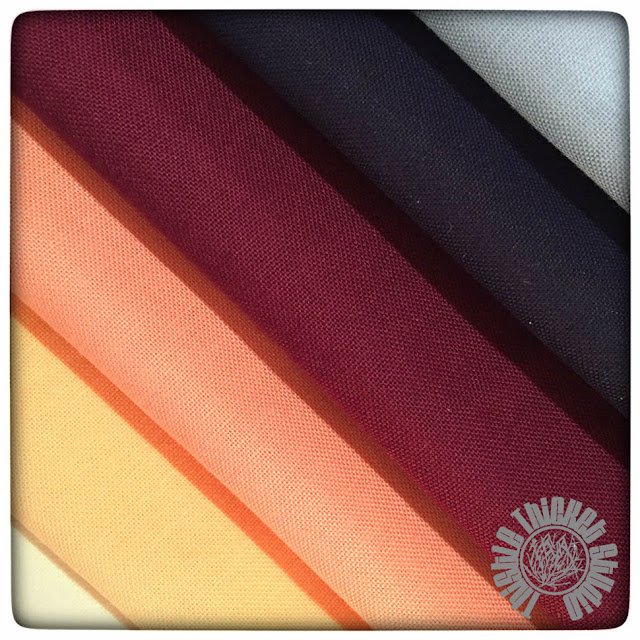
This blog hop will feature Fabri-Quilt's new line of solid fabrics called Painter's Palette. Our blog hosts curated this collection of fabrics from the line for the Ocean Sunrise Palette that we will be using to make our blocks....
I'm really excited about the block I've designed so I hope you'll join me for the blog hop. (Just a hint: my block creates an awesome secondary design when putting several of them together to create a quilt!) You won't want to miss this opportunity to get 39 free - yes FREE - new 12" block patterns!
Mark your calendar and see you at the hop!
~Sharla
Tuesday, February 2, 2016
Spell It With Moda Fabric! Monogram Pillows Tutorial
We're in the midst of a winter storm here in western Kansas, and you know what that means! Snow Day = Sew Day! Yay! It gave me the excuse to kick off Moda Bake Shop's Birthday Quilt-Along by hosting a little sew along yesterday on Facebook and Instagram using Moda's Spell It With Moda Fabric! pattern booklet. Double Yay!
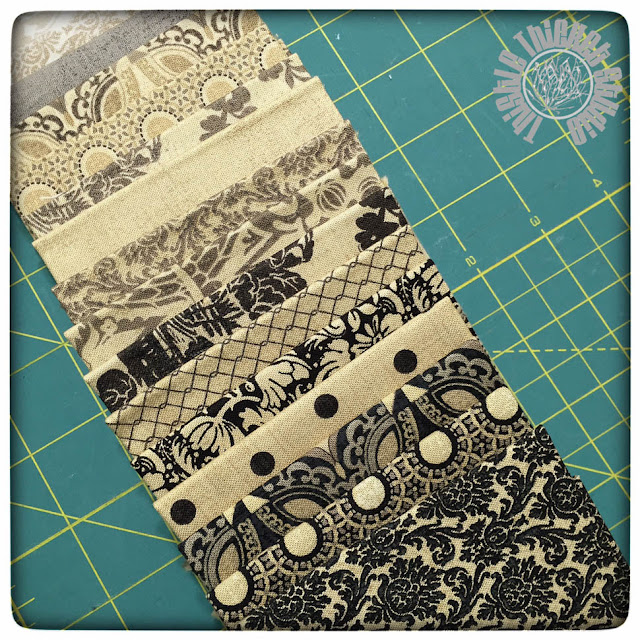
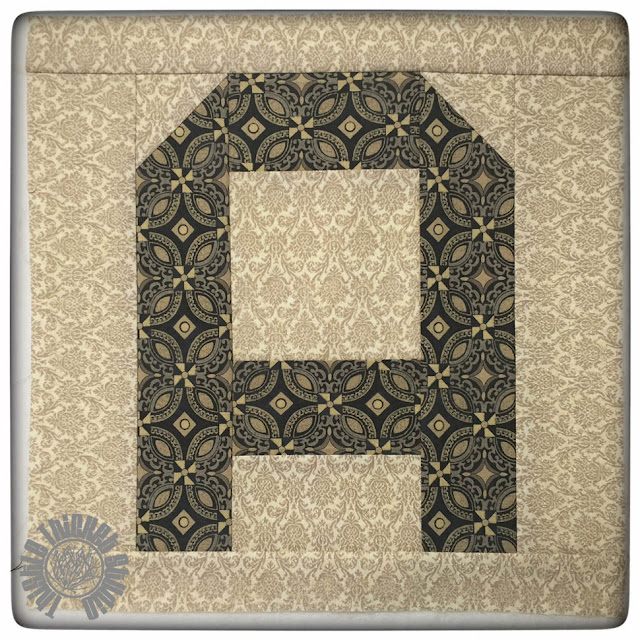
I've been hoarding a fat eighth bundle of Little Black Dress 2 to make some pillows for my bed. And these fun letters from Spell It With Moda Fabric! are perfect for some cute monogram pillows!
Today, I'm sharing photos from my sew along yesterday. So go grab a jelly roll, fat quarter bundle, or like me, a fat eighth bundle, and join me as I recap the details on how to make these cute pillows.
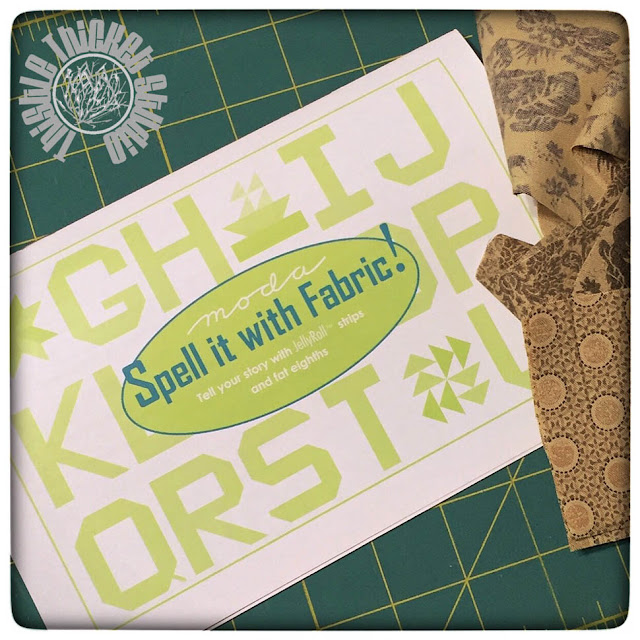
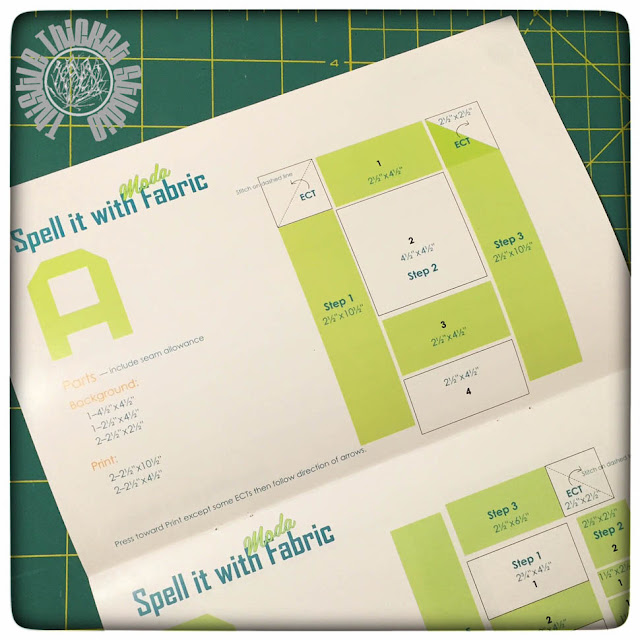
The pattern for the letters I used are in the Spell It With Moda Fabric! booklet, available at your local quilt shop, or you can access them individually at Moda's Pinterest Page. The patterns in the booklet are easy to read and follow, and they are so quick and fun to make!
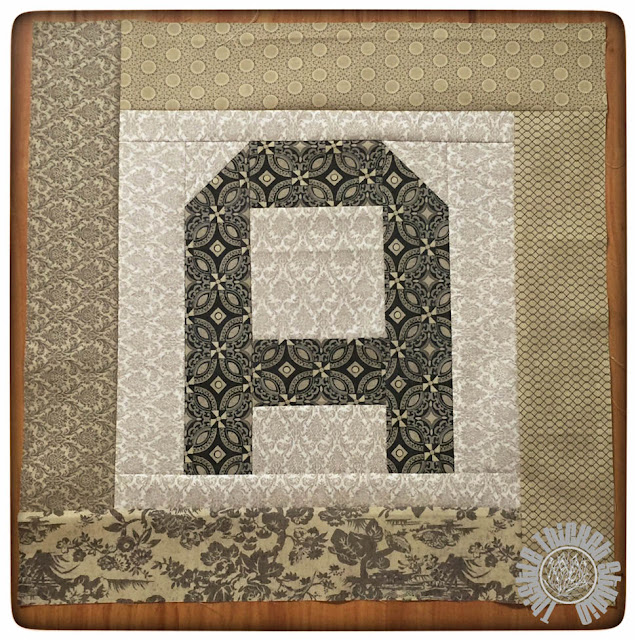
So, let's get started! Since my hubby's name starts with A, that's the letter I started with.
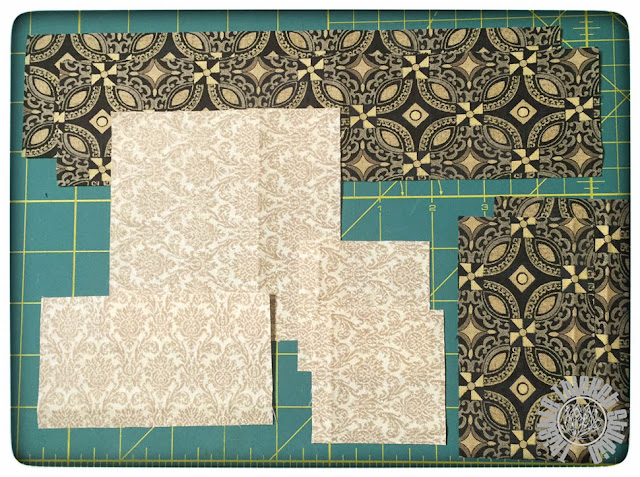
Follow the cutting instructions for the letter you are making, but don't cut background fabric for the borders in the pattern.
Your letter should measure 8 1/2" x 10 1/2".
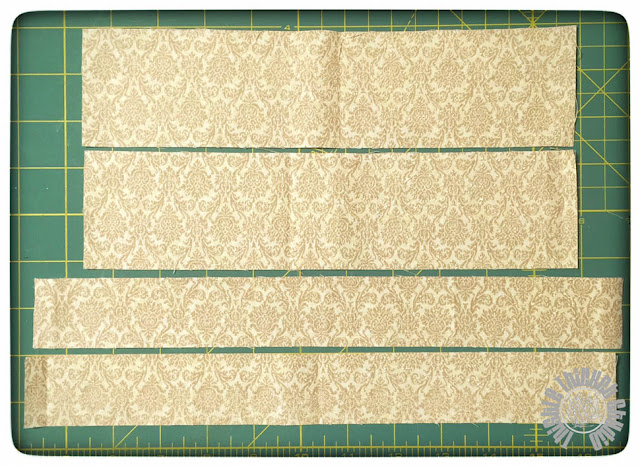
Cut two 2 1/2" x 10 1/2" strips and two 1 1/2" x 12 1/2" strips of background fabric. Sew the 2 1/2" x 10 1/2" strips to the left and right sides of your letter block. Sew the 1 1/2" x 12 1/2" strips to the top and bottom.
Your block should now measure 12 1/2" x 12 1/2".
From assorted print fabrics, cut four 3" x 15" strips. (I will cut these strips down and square up my block after I've assembled and quilted it.) Or, if you are using a jelly roll, cut four 14 1/2" strips from an assortment of 2 1/2" wide strips.
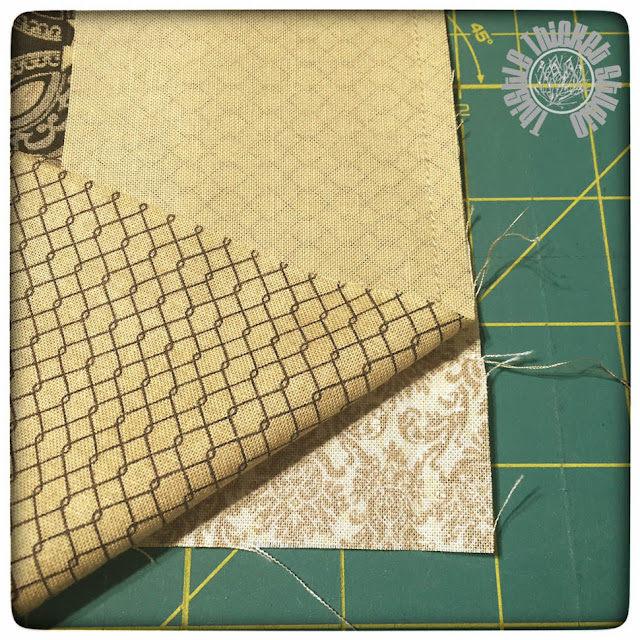
Sew the first outer border strip to your block using a partial seam. How do you do that, you ask? Just sew the first strip onto the block stopping approximately 2" from the edge of the block end. Now, working your way around the block in a counterclockwise direction, sew the remaining three borders on.
To complete that partial seam, just sew the remaining length of your first strip. That's a partial seam. Easy peasy!
Yay! Your monogram pillow top is complete and ready to quilt!
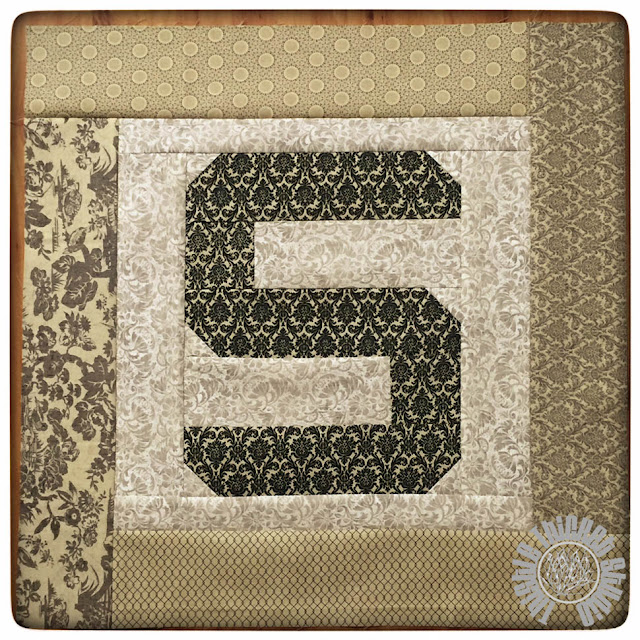
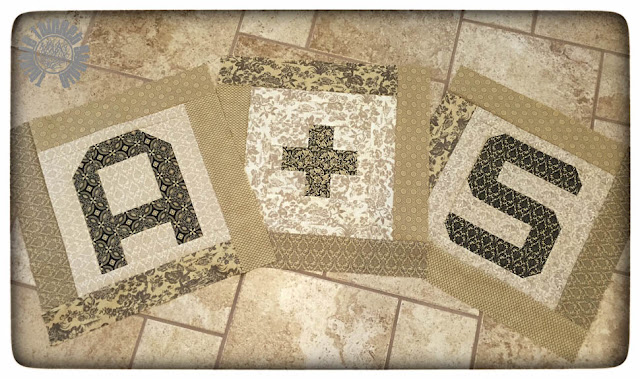
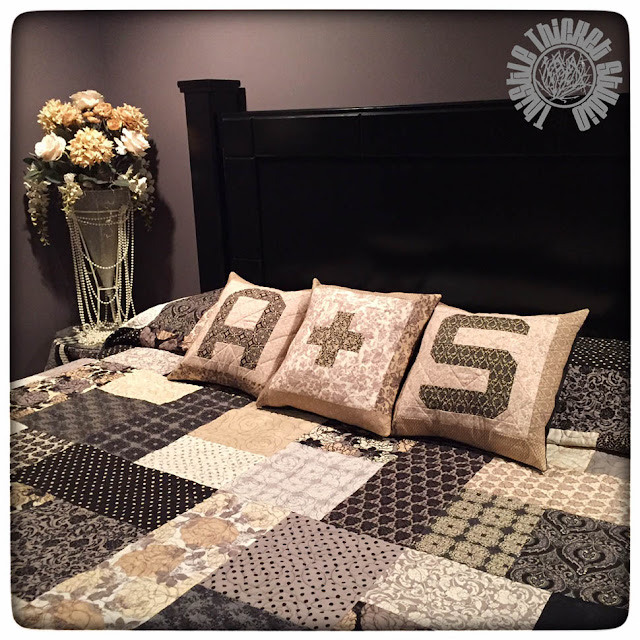
I also made an S for my initial:)
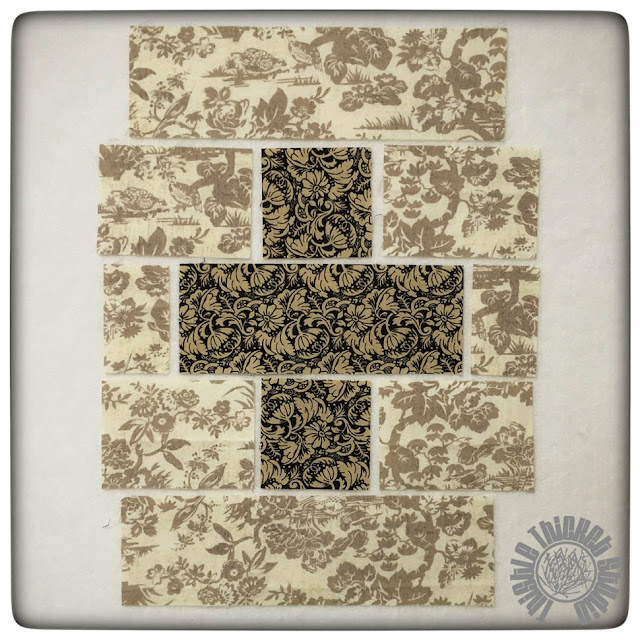
To go with my monogram pillows, I also made a plus block. Kind of like carving your initials in a tree: A+S! From your background fabric, cut two 2 1/2" x 8 1/2" strips, four 2 1/2" x 3 1/2" rectangles, and two 2 1/2" x 1 1/2" rectangles. From your print fabric, cut two 2 1/2" x 2 1/2" squares and one 2 1/2" x 6 1/2" rectangle.
The photo illustrates the sewing order for this block. Sew across rows 2-4 first, then sew the rows together from top to bottom.
Your plus block should measure 8 1/2" x 10 1/2", just like the other Spell It With Moda Fabric! blocks before borders. Now add the first row of background border and the outer print border just like we did for the letter blocks.
All three of my monogram pillow tops ready for quilting!
I quilted a simple 2" crosshatch with my sewing machine to quilt my pillow tops.
After the pillow tops are quilted, square them up to 16 1/2".
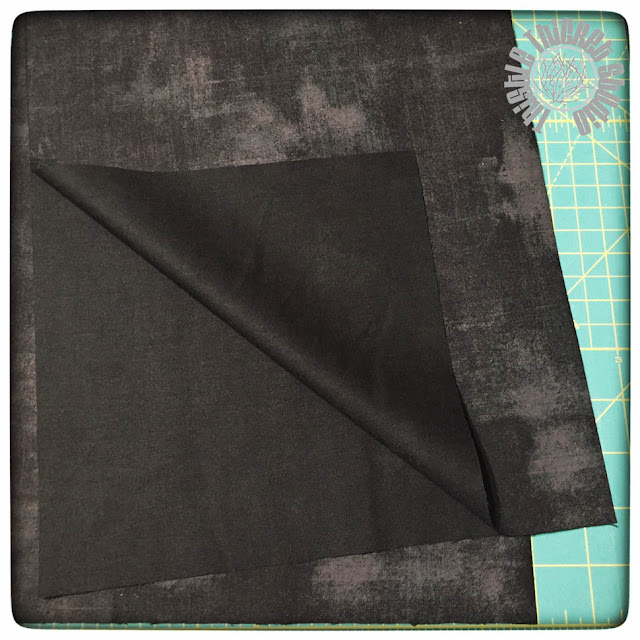
Are you ready to turn your quilted blocks into pillows? Cut two 16 1/2" x 21" rectangles from your pillow backing fabric. Fold in half, wrong sides together, so that the rectangles now measure 16 1/2" x 10 1/2". Press both pieces.
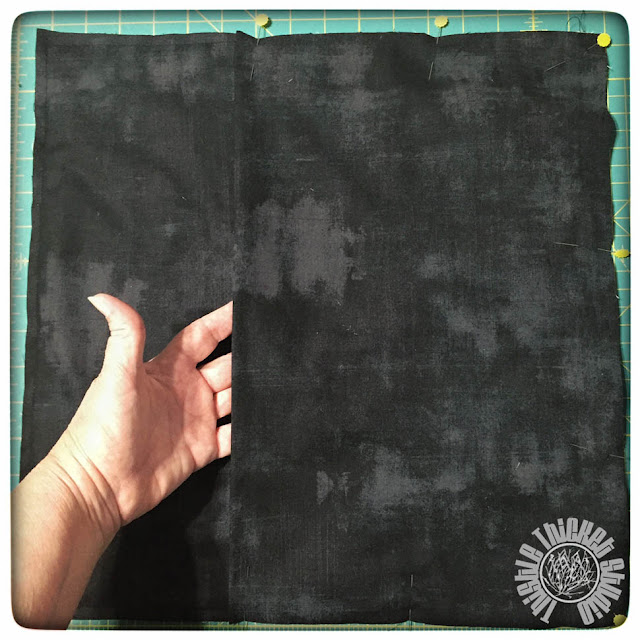
Pin one of the backing halves to the right side of your pillow top, raw edges to raw edges. Sew using a 3/8" seam.
Pin the other half of the backing to the other side of the pillow front. Sew using a 3/8" seam. The backing halves will overlap in the center.
Turn the pillow right-side out and insert a 16" pillow form. TaDa! Quick and easy monogram pillows!
I just love the way my pillows look on my bed with my Turning Twenties quilt made with Little Black Dress 1 fabric.
I hope you enjoyed this little tutorial. I'll be sharing more Spell It With Moda Fabric! fun over the next few months as I, and the other Moda Bake Shop Chefs, celebrate Moda Bake Shop's 7th Birthday!
~Sharla
P.S.
Here are the other Moda Bake Shop Chefs (& their links) that are co-hosting with me for the MBS Birthday Quilt Along:
Amanda Castor {materialgirlquilts | blog: materialgirlquilts.com}
Debora Exum {studiodragonflyquilts | studiodragonfly.blogspot.com}
Jemima Flendt {tiedwitharibbonquilts | tiedwitharibbon.com}
Jenn Nevitt {mommysew | mommysew.com}
Lisa Calle {vintagemodernquilts | vintagemodernquilts.com}
Oda May {modabakeshop | modabakeshop.com}
Samantha Olsen {samanthaleeolsen}
Susan Ache {yardgrl60}
Terri Ann Swallow {terriann | childlikefascination.com}
Vanessa Goertzen {lellaboutique | lellaboutique.blogspot.com}
And of course, me:
Sharla Krenzel {thistlethicketstudio | thistlethicketstudio.com}
Be sure to follow all of us for some MBS Birthday fun over the next few months!
Subscribe to:
Comments (Atom)

