Our local historical society has been making barn quilts for the last couple of years as a fund raiser and this summer our county was declared the Barn Quilt Capital of Kansas. So this spring, a group of our quilty friends got together and made our own barn quilts to join in the fun.
I purchased my barn quilt board kit from the historical society since they were making and selling them. But, they provided us with directions if we wanted to make our own boards:
- Use 1/2" MDO plywood or a plywood with one smooth side, cut in 2'x2' for a small quilt or 4'x4' for a large quilt
- Use 1"x4" pine and rip 1.38" off lengthwise to be used for backing boards and frame. If making a barn quilt larger that 2'x2', use a whole 1'x4' for backing boards.
- Using the wider piece of the ripped 1"x4", cut it into 2-24" pieces. Mount these two pieces on opposite sides of the back of the 2'x2' MDO. Mount using wood glue and staples making sure the outer edges are flush with the plywood edge. Then measure the distance between your mounted 24" pieces and cut 2 pieces of that length from the wider piece of the ripped 1"x4". Mount them on the back of the MDO on the remaining two sides.
- The narrow part of the ripped 1"x4" will be cut into 4 pieces, 2-24" and 2-26" pieces for a 2'x2' quilt. These will be used as the frame around the outside edge of your barn quilt.
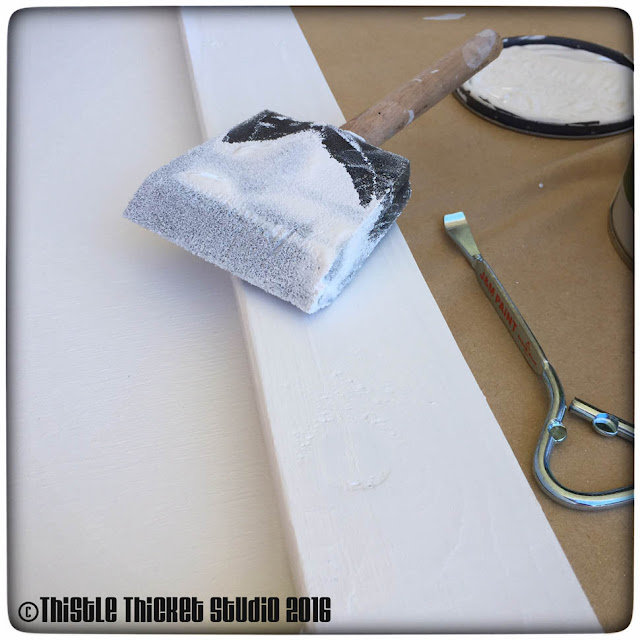
Now that the barn quilt board is made, it's time for some painting fun! Cover all the wood pieces on all sides with at least 2 coats of paint (I used white paint and primer in one). Be sure to use exterior latex paints. I used disposable foam paint brushes as they were the easiest to clean up and cheapest to use.
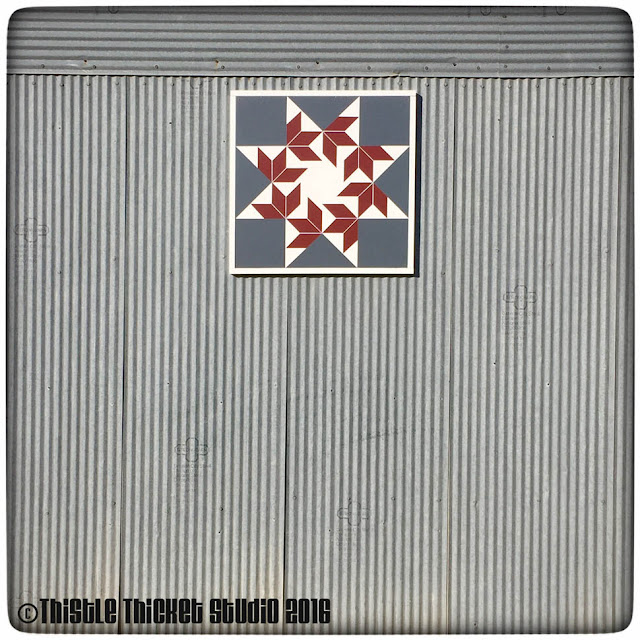
Choosing the quilt pattern was the hardest part of this whole project (well, besides getting the hubby to help me hang my barn quilt when it was done!). I did a lot of searching on Pinterest and finally decided on the Flying Swallows quilt block pattern. I sketched out my design on grid paper first.
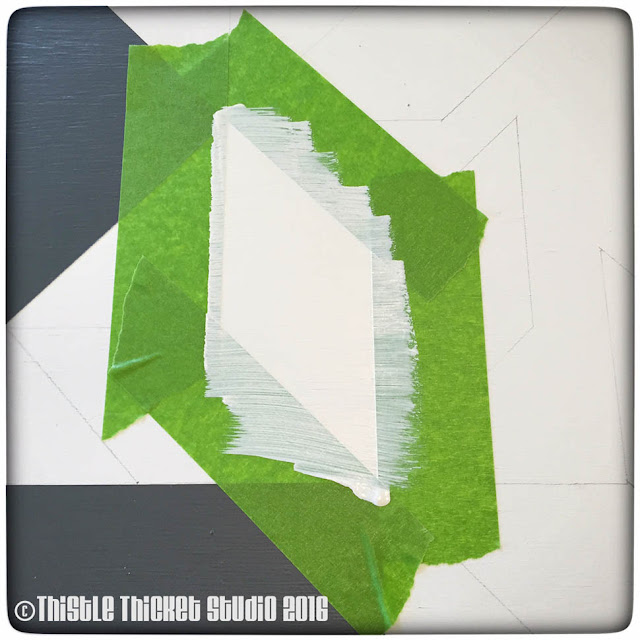
Using the grid pattern, I lightly drew my pattern onto my primed barn quilt board. Using a good painter's tape, I started taping off the sections by color. I painted over the tape with my white primer first to seal the tape off. If any paint was to bleed under the tape, it would be the same white as the background and not show.
Then I painted two coats of color in the sections. Sometimes you are able to mask all sections of one color, but most of the time you will have to wait for one section to dry before you can tape an adjoining section.
Once I had finished painting my design, I touched up any spots where my pencil mark showed and allowed the paint to completely dry for a few days. Then I painted two coats of a clear non-yellowing polyurethane over all the surfaces of my quilt board and frame boards. I chose to leave my frame boards white, but if you want to paint them a color, paint them before applying the polyurethane. I attached the frame boards using a nail gun and then applied two more coats of polyurethane over all the surfaces.
The hubby helped me hang my barn quilt this past weekend (be sure to use non-rusting screws). And I love it! I bought two more barn quilt board kits and now I can't wait until after Thanksgiving to get them painted and hung too! Hopefully, it won't take as long to get them done and hung as it did the first one!
~Sharla


