Need a fast handmade gift this holiday season? Here is one sure to please everyone on your gift giving list - the 5 Minute Hexie Coaster!
These are so fast and fun to make, so I thought I'd share a tutorial with you today.
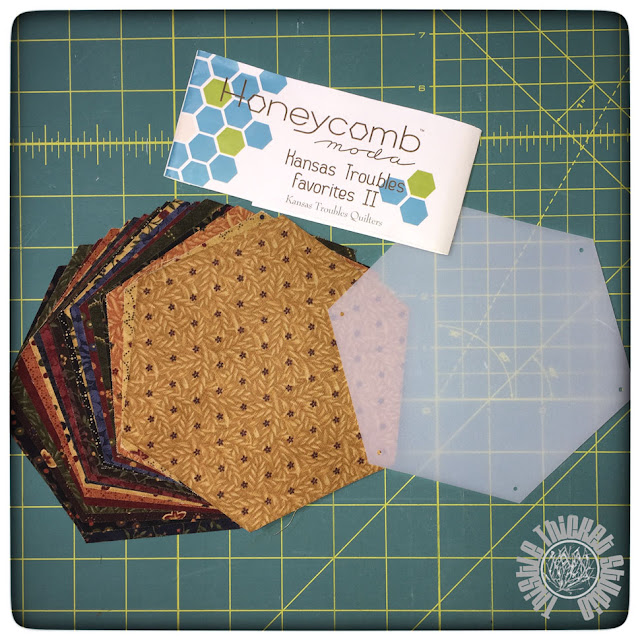
You'll need one Honeycomb precut in your favorite fabrics, plus 2 additional hexies cut from yardage to make 6 coasters.
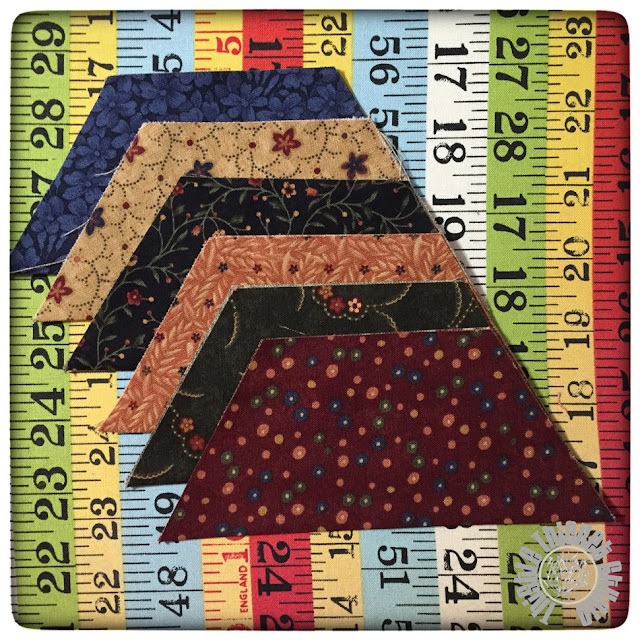
Each coaster uses 7 hexies - one for the back and 6 for the front. Press the 6 front hexies in half, folding at the points.
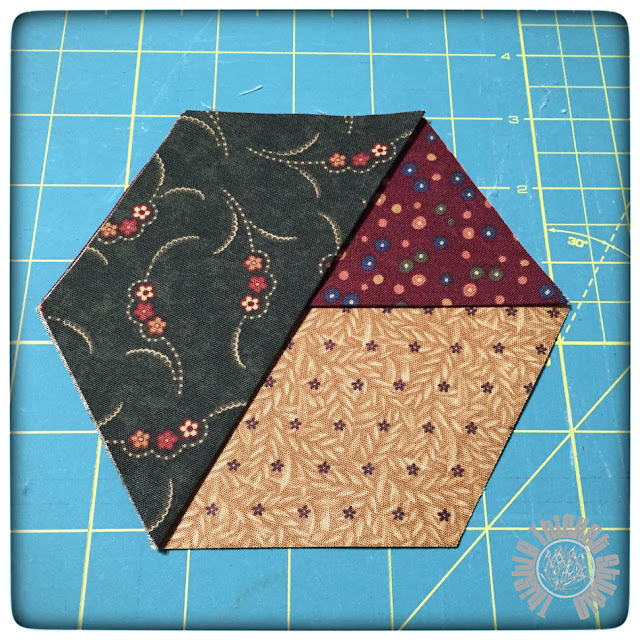
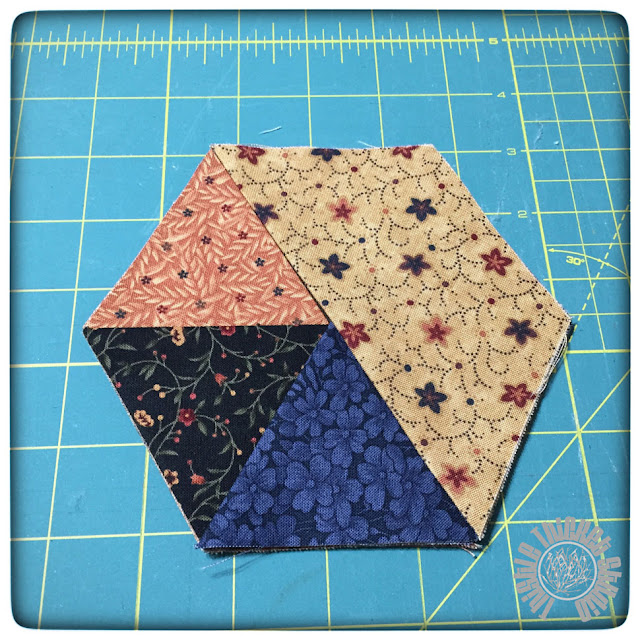
Place the backing hexie right side up. Layer one of the folded hexies on top, lining up the edges. Hexie 1 on backing:
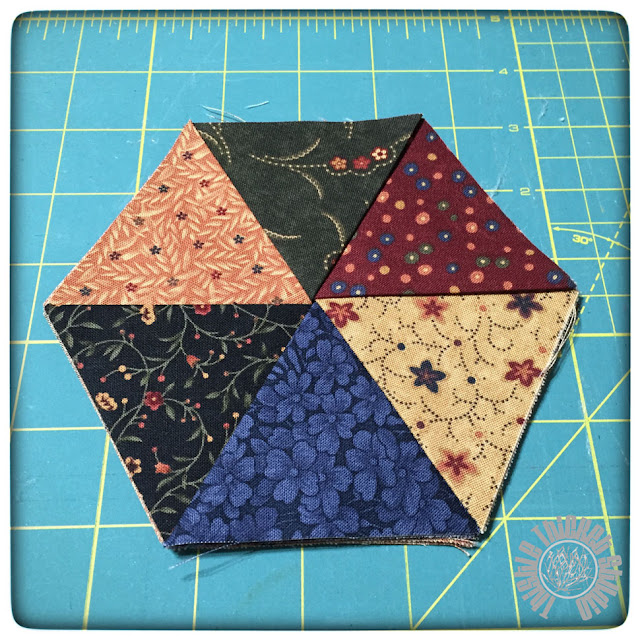
Working clockwise (or counter clockwise, it doesn't matter which direction as long as you continue working in the same direction around the hexie), continue layering the folded hexies around the backing hexie. Hexie 2:
Hexie 3:
Hexie 4:
Hexie 5:
Hexie 6:
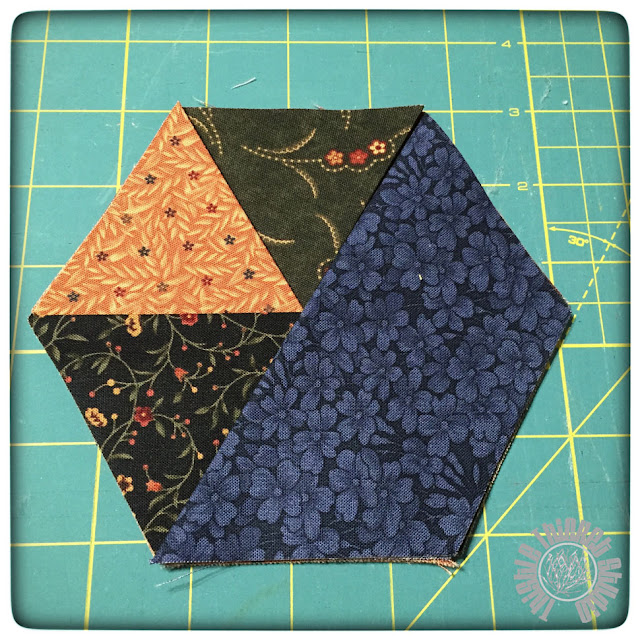
Holding the corner of the last hexie placed, lift the corners of the last two hexies and bring the corners from the first two hexies to the top.
The coaster should have this pie-shaped look:
Sew around the stack of hexies using a 1/4" seam, pivoting and turning at each corner. Pin to hold the hexies in place if desired.
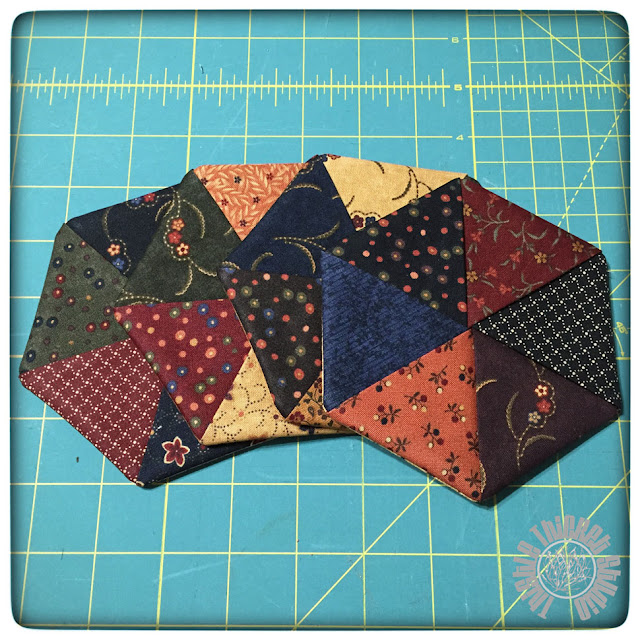
Trim the corners, then turn the hexie inside out. Press. Top stitch 1/4" around the coaster if desired. I liked the look without topstitching.
Add a cute mug with packages of hot chocolate or cider mix and you have a quick and cute gift!
~Sharla









These are fantastic! I love how it reminds me of origami. I hope you link these up with Stephanie @Late Night Quilter when she hosts her monthly Tips and Tutorials Tuesday in December. I think I'll try making a few myself today. :)
ReplyDeletehow do I make the pattern to trace on the fabric?
ReplyDeleteThis is a great tutorial. Thanks so much for posting it.
ReplyDeleteOh, these are great! I don't have any pre-cuts, but my Hex n' More ruler should do nicely. Looks like one of those projects that will actually take as long as advertised.
ReplyDeleteThanks for this wonderful (and very clear!) tutorial!
ReplyDeleteTada! Thank you for the tutorial! Super cute coasters!
ReplyDeleteWhat size is the Hexie? Thank you!
ReplyDeleteThe hexie measures 6" from point to point and 5.25" from flat side to flat side.
DeleteGood Afternoon! Yvonne (Jetgirl) made these as a gift and I just HAD to come read your post and PIN your tutorial. What a fabulous idea, and a great idea for a quick-ish gift that looks like lots more time is spent on it. Happy Happy Friday! I hope you enjoyed your Thanksgiving. ~smile~ Roseanne
ReplyDeleteI do not have a template for the size you are making, also I thought they should have a felt or thin sheet of poly sheet.
ReplyDelete