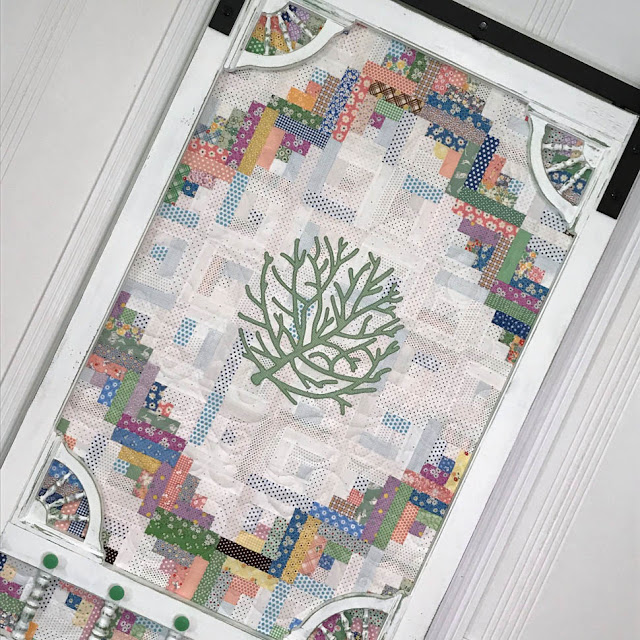
Finally! I've had this project in my head for a couple of years and I finally can check it off my to-do list! I love the whole farmhouse sliding barn door look and wanted a similar door for the entrance into my studio (aka sewing room). I originally wanted a vintage screen door with chippy green paint but I couldn't find a door that I liked in a reasonable price range. So I eventually settled for a new screen door. And now that the project is finished, I'm glad that I did!
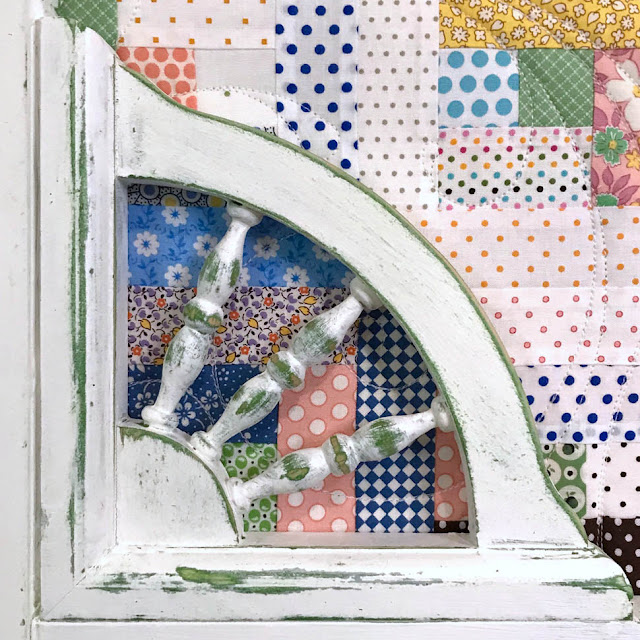
I added extra shelf brackets in the corners of the top opening of the door to dress it up more. I painted the door with a base coat of green then a top coat of white. I sanded the white off in places to distress the paint so the green would show through.
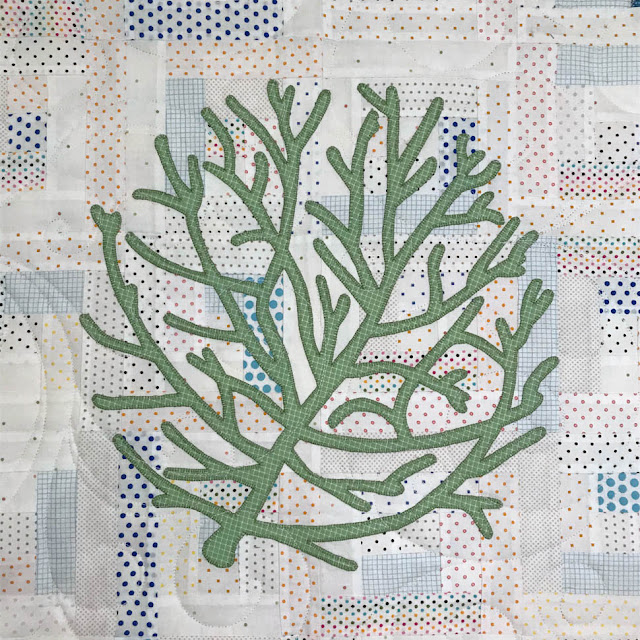
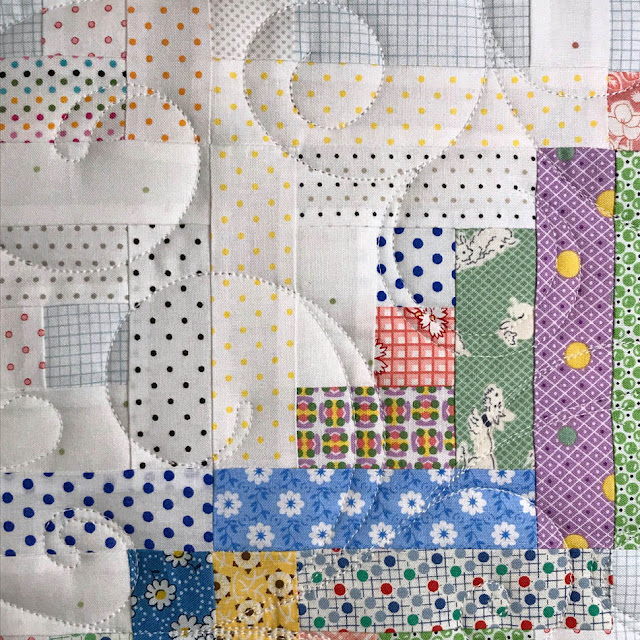
The whole idea of the door is to hide my sewing messes when company comes, so the screen in the door had to go! Of course, replacing the screen with a quilt was a no-brainer in my mind. I used reproduction 30's fabrics and low volume dotted prints on the front side. I chose the log cabin block as it was perfect for framing an applique of my Russian Thistle (tumbleweed) logo in the center.
I selected an all-over swirly pattern for the quilting design because the back side of the quilt was another pieced top and I wanted a pattern that didn't matter where the design landed on the piecing.
My mom gave me a set of vintage plastic drawer pulls in my favorite 50's green color so I decided to add some to the door above each of the spindles across the center bar. So cute!
I just love how the door turned out! And it looks great with my other summer project that I finished - my vintage bead board chair rail border. You can see a bit of it on either side of the door in this photo. I'll have to share more photos of that project another day.
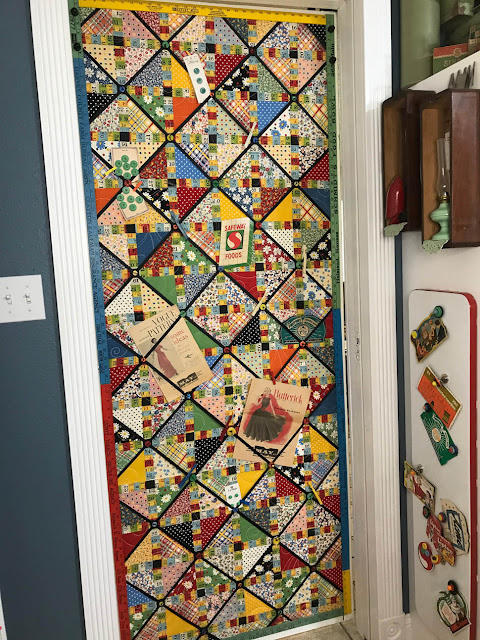
And now for the back side of the door. It turned out just as great but with a totally different look!
The back side of the door faces into my sewing studio so I wanted a quilt design that I could use my favorite American Jane tape measure fabric. I also wanted to be able to use the space to display some of my vintage needlebooks and other little notions so I decided to make half square triangle blocks and sash them with the tape measure fabric. I then was able to attach black ribbon on the diagonal seams of the HST blocks and secured the ribbons with vintage buttons at the intersections. I hid the raw edges of the quilt and all the staples used to attach the quilt to the screen door with a variety of brightly colored yard sticks.
I can tuck lots of different vintage notions under the ribbons as long as they are flat, like these vintage needle books.
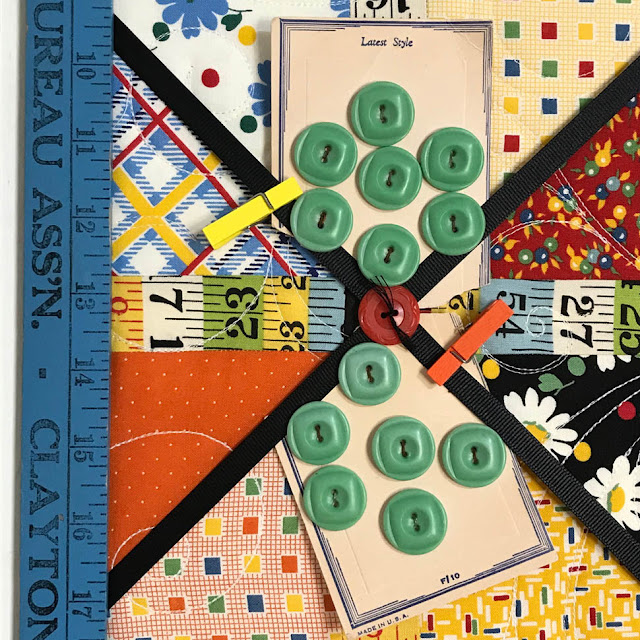
Or some of my cards of vintage green buttons. For added security, I also used little clothespins to clip them to the ribbon.
You can see one of the yardsticks used to cover the edges of the quilt on the left side of this photo.
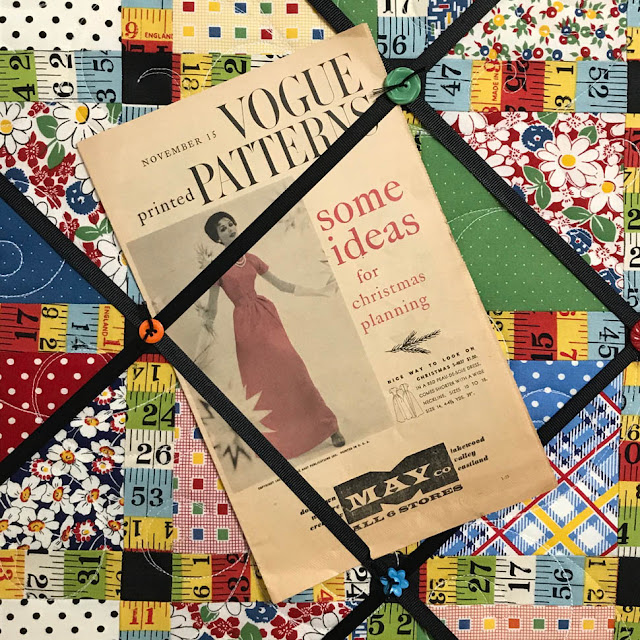
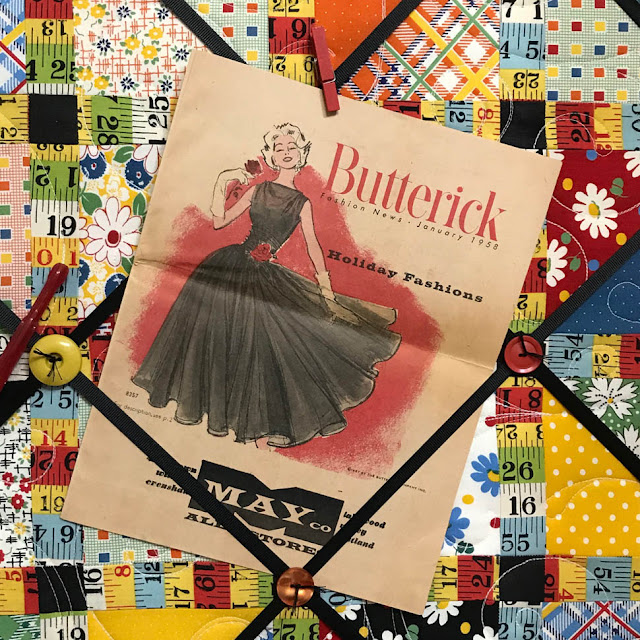
My latest purchase is a group of vintage pattern advertisement booklets from the 50's and 60's. Most were too large but I managed to display a couple on my door.
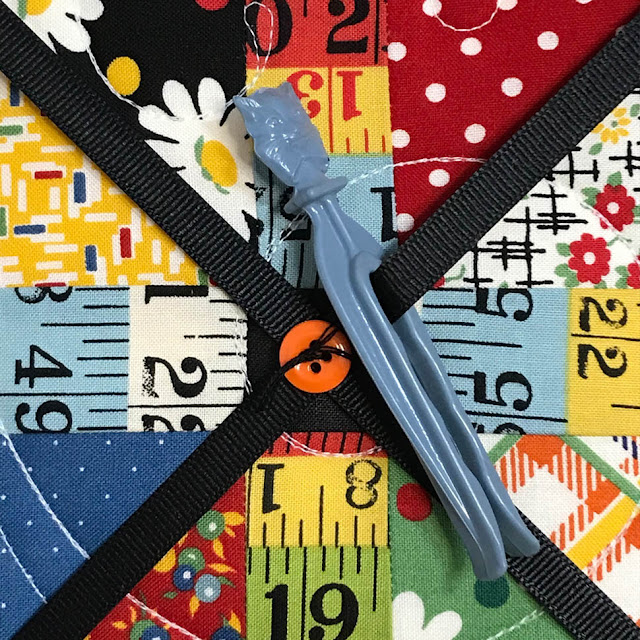
I also clipped a few of my vintage plastic clothespins on the ribbons too. Isn't this cat head clothespin the cutest?!
It feels so good to get this project finished! Now I need to get my sewing room straightened up so I can have some quilty friends over to show it off!
Happy Quilting!
~Sharla







Ingenious solution. Looks fabulous. I'm sad that there's no where in my house to do something like that.
ReplyDeleteThis is incredible! I love everything do did for it and what a great idea to make it two-sided. I think those old patterns are a hoot as they show off impossibly slim ladies! I bought one recently for a top/skirt pattern and the sizing was so far off by today's standards.
ReplyDeleteI love that type of screen door but it doesn't suit my house. So this idea is just fabulous!!
ReplyDeleteBeautiful and clever!
ReplyDeleteI love how you made your screen door into a pinboard. It is such a good idea
ReplyDelete