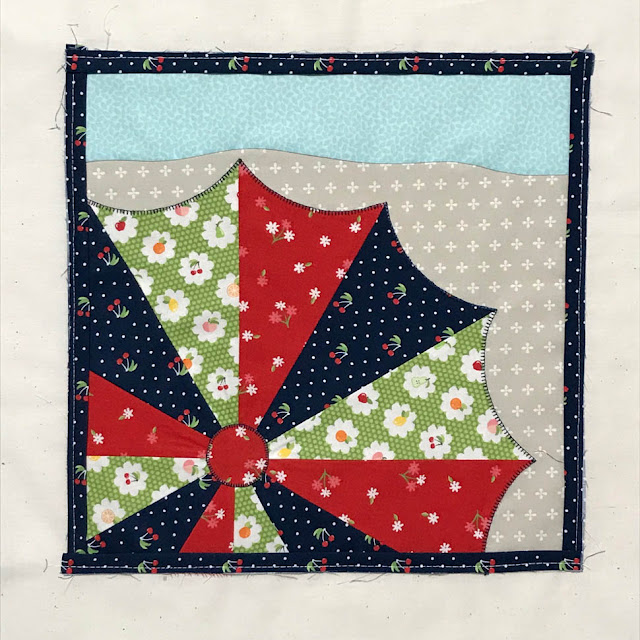
I was thrilled to be one of the designers for Moda Bake Shop's summer quilt along called "At The Seashore" again this year. And today is my turn on the MBS blog showing you how to make my "Seaside Dreams" block!
This summer I opted not to make the entire quilt because of some other top secret designing and sewing I've been doing, so I had a random quilt block that I wanted to use in some way. So I decided to make a nautical-themed pillow and today I'm sharing a short tutorial on how I made it. It was so simple that it took me less than two hours to transform my "Seaside Dreams" beach umbrella block into a pillow.
Cutting Instructions:
18" x 18" square of muslin for foundation
4 - 1" X 12 1/2" rectangles for flange
2 - 2 1/2" x 12 1/2" rectangles for border
2 - 2 1/2" x 16 1/2" rectangles for border
8 - 3" x 6 1/2" rectangles for tabs
2 - 16 1/2" x 21 1/2" rectangles for pillow back
1 - 16" x 16" pillow form
1 - 12 1/2" x 12 1/2" MBS At The Seashore pieced block
4 - 45" lengths of 1/2" cord or rope
Sewing Instructions:
1. Fold the four 1" x 12 1/2" rectangles in half with wrong sides together along the length of the rectangle. Press.
2. Pin the 12 1/2" x 12 1/2" pieced block in the center of the 18" x 18" muslin square. With raw edges aligned, pin one of the folded 1" x 12 1/2" strips on each side of the pieced block. Baste 1/8" around all four sides of the pieced block and through the foundation square.
3. Sew a 2 1/2" x 12 1/2" border rectangle on the right and left side of the pieced block. Press strips open. Sew a 2 1/2" x 16 1/2" border rectangle to the top and bottom sides of the pieced block. Press strips open. Trim and square block to 16 1/2" x 16 1/2".
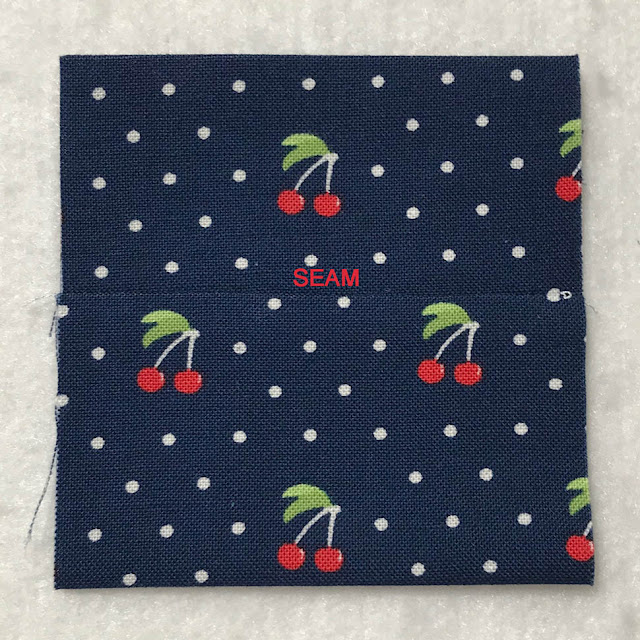
4. Fold a 3" x 6 1/2" rectangle tab in half right sides together. Sew along the 3" wide ends to create a tube. Turn and press with seam in the center of the tube. Fold tube in half bringing raw edges together and seam on the inside. Repeat for a total of 8 tabs.
5. Pin two tabs on each side of the pillow front approximately 2 1/4" from the corners. Baste tabs in place.
6. Fold the two 16 1/2" x 21 1/2" rectangles in half with wrong sides together along the 16 1/2" width. Press. Layer and pin the two rectangles on top of the pillow front with raw edges together. The rectangle backs will overlap in the middle approximately 5". Sew a generous 1/4" seam through all layers around the perimeter of the pillow. Turn pillow and press. (Whoops! I forgot to take a photo.)
7. Thread a rope piece through two tabs on either side of a corner of the pillow. Repeat for all four corners. Tie rope ends in square knots at the center of each side of the pillow. Trim excess rope ends. Insert pillow form.
I just love how my nautical-themed pillow turned out. It will look great on our land-locked patio where we sit, relax and dream about being at the beach. This is a great way to use the extra blocks you make for the At The Seashore quilt along!
If you make my "Seaside Dreams" block or turn one of your At The Seashore blocks into a pillow, please share on Facebook or Instagram and tag me @thistlethicketstudio.
Hope to see you at the beach soon!
~Sharla


So cute, and from an orphan block! You are creative!
ReplyDelete