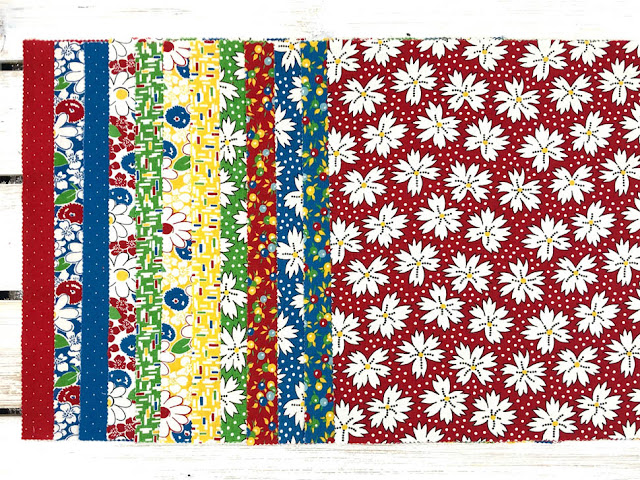
When we arrived, I headed straight for the wildflowers, choosing 6 layer cake squares with larger floral prints for the centers of my Pinwheel Point blocks. I paired them with contrasting small prints - pindots, ditzy print florals, and tiny geometrics - for the pinwheels.
Here's my EQ7 cutting chart. This is for one block. You'll need a total of 24 blocks for this round. One layer cake square will produce 4 block centers or the color pinwheel points for 4 blocks.
Today's Tip: Here's my trick for centering the pinwheel triangles on the center square.....Fold the center square in half with wrong sides together. Place on top of pinwheel triangle, butting fold against the seam of the triangle and lining up the edges. Pin the fold to the seam then open the center square and sew. The triangle points will hang over the edge of the square. Repeat for each side of the square.
Reminder: When sewing your pinwheel points, remember that you are sewing on the bias so be careful not to stretch the fabric as you sew.
Another Tip: I used my favorite ruler to trim and square up my blocks - my 6 1/2" x 12 1/2" Creative Grids ruler. I use the 45 degree lines to line up the diagonal lines on my block and I check that my center square points are 1/4" from the edge of the ruler, then trim.
My medallion is growing! So much so that my design wall (aka floor) that has good lighting was too small to photograph my medallion.
So I tried to take a couple of close up shots to show the progress.
For the most part, it's been way too windy to photograph anything outside that's not tied down. But I managed to snap this shot - wrinkles, strings and all - when there was a brief moment of calmer breezes. I decided I couldn't take the chance to stop and press or the moment would be gone!
Next week, I'll be sharing a block I designed for this QAL on the Moda Bake Shop blog! Meet me at my cabin next Wednesday for another camp adventure!
~Sharla


It's fun watching the quilt grow; it's lovely!
ReplyDelete