For this tutorial, I am going to make a 6" finished block with a 4" circle, but as I mentioned, you can make them as big as you want.
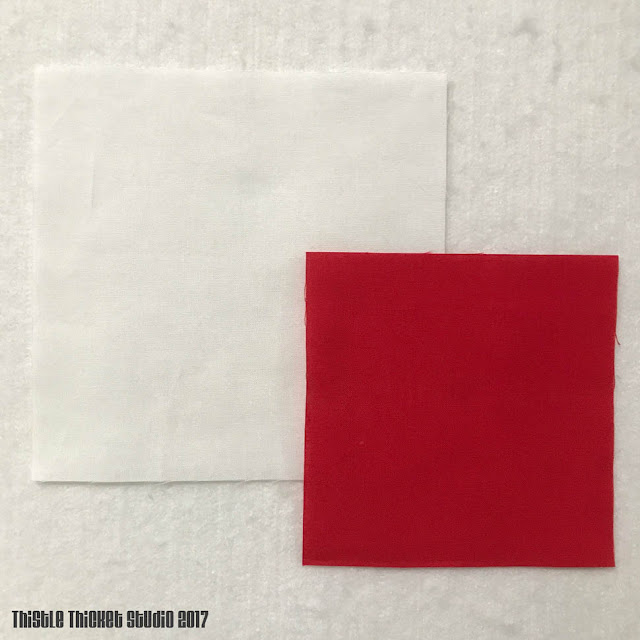
Cut one background square 6 1/2" x 6 1/2" (or cut them 7" x 7" and square up the block when finished to 6 1/2" x 6 1/2") and one color or print fabric for the circle 5" x 5".
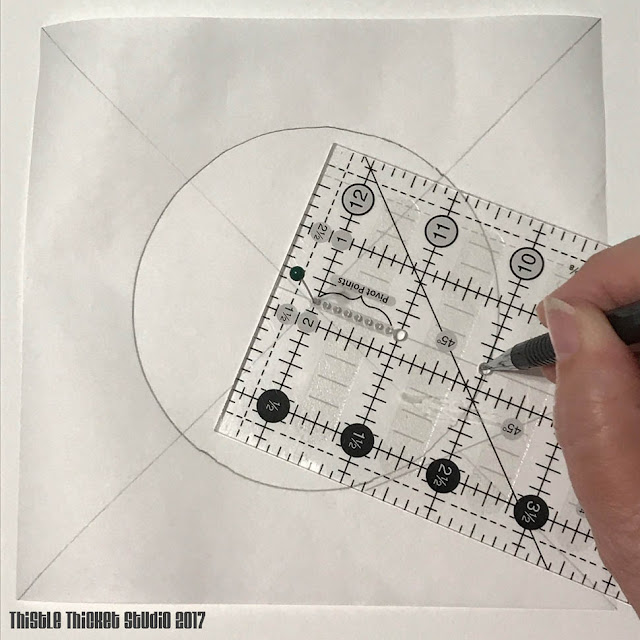
Cut a piece of freezer paper the same size as your background square. Draw diagonal lines from corner to corner in both directions on the paper side of the freezer paper to find the center of the square. Then draw a 4" circle using a protractor or other circle making device using the center mark as the center of the circle. I am using a 3 1/2" x 12 1/2" Creative Grids ruler that has holes drilled down the center specifically for drawing circles and arcs. By the way, this is my favorite go-to ruler (no affiliation, just a fan). Cut out the circle on the line.
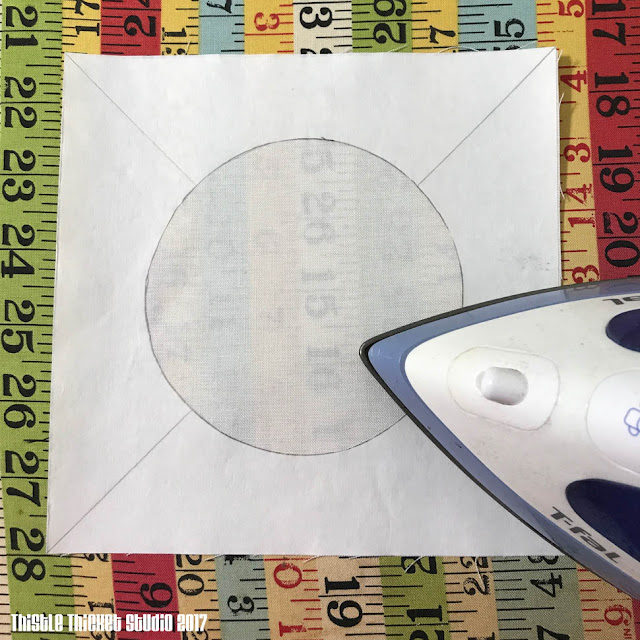
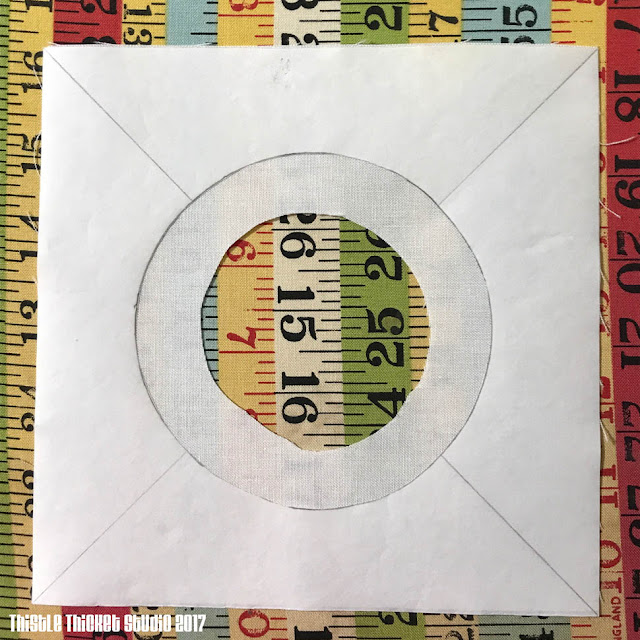
Now iron the shiny side of the freezer paper to the wrong side of the background fabric, making sure to line up all the edges.

Lightly draw a line next to the edge of the freezer paper circle on the wrong side of the background fabric. This will be your sew line.
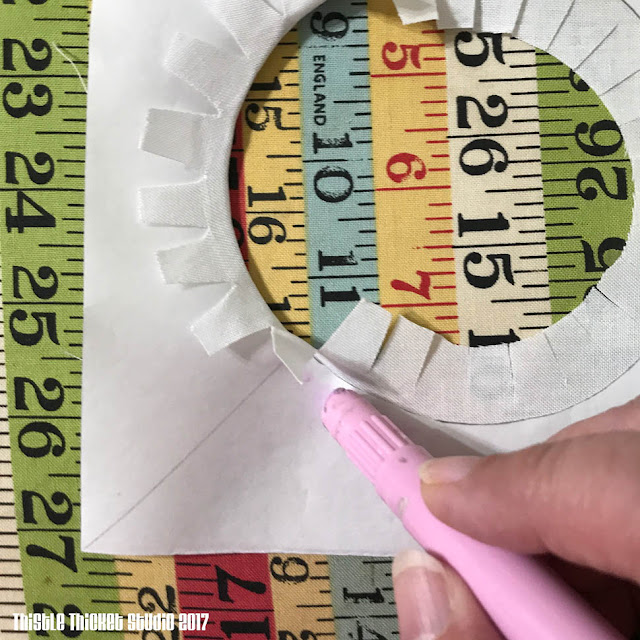
Clip around the edge of the fabric to within 1/8" of the paper and in approximately 1/2" increments. The larger the circle, the further apart the clips can be.
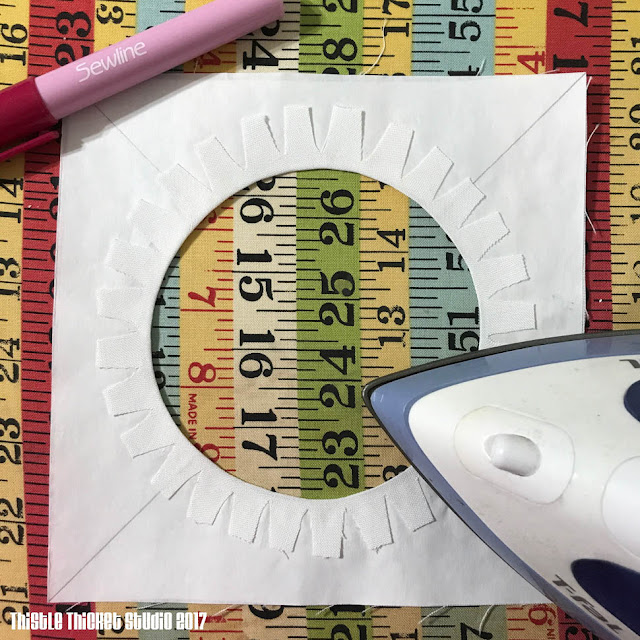
Run a line of fabric glue along the circle edge of the freezer paper and fold down the clipped edge along the paper edge. I use a Sewline Fabric Glue Pen (again no affiliation). Work your way around the circle until all of the clipped edge is folded and glued down, making sure you have a nice crisp folded edge with no wrinkles.
Press the background square.
Center the background square over the circle square with right sides of both squares facing up.
Fold half of the background square over and run glue along the edge of the circle on the wrong side of the background circle. Lay background fabric back flat against the circle square pressing the glued portion down. Fold the next section of the background fabric and repeat the glue process. Work your way around the circle until the entire circle edge is firmly glued to the circle fabric. Press with an iron to set.
Gently loosen the clipped background fabric from the freezer paper and remove the freezer paper. If any areas of the background fabric pull away from the circle fabric, reglue them.
Now it's time to sew the circle. Place the circle block face up on the sewing machine. Flip the edge of the background up. Sew along the drawn line. Sew a short section, then stop, rotate the block and lift the next section of background fabric. Work your way around the circle. I used a zipper foot on my machine to sew the circle.
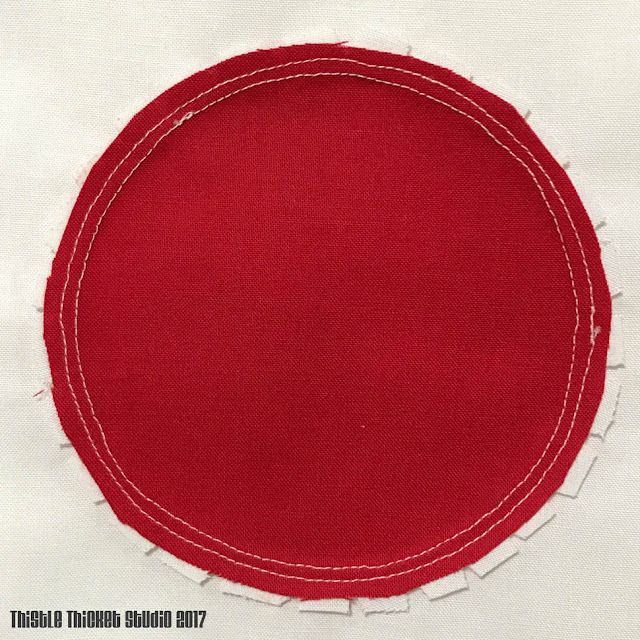
Sew a second line of thread around the circle a bit larger than the first as a stay stitching to keep the clipped areas from fraying if washed.
Press the seams towards the outside for an inset circle look or press them towards the center for an appliqued block look. I like the inset look, so I press the seams towards the outside. Trim your seams. I trim the circle fabric shorter than the background fabric so the color doesn't show through, especially on a lighter background.
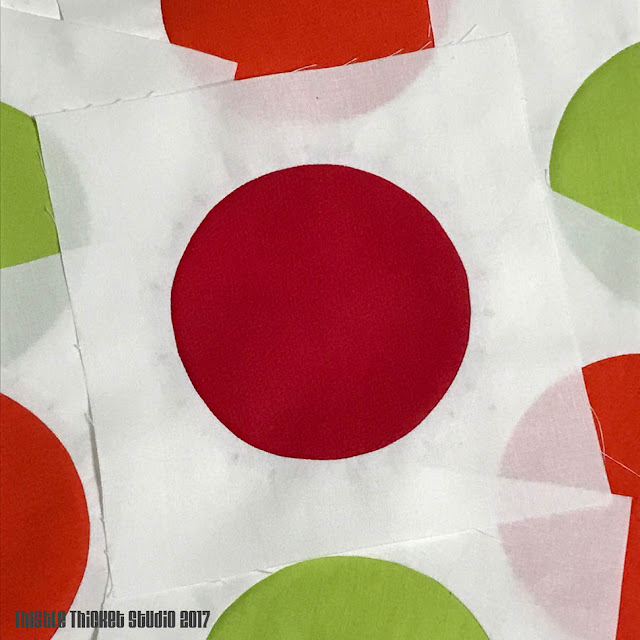
Ta-Da! After seeing the final photo, I went back and trimmed my seams more so that the clipped seams didn't show as much. Lastly, square up the block.
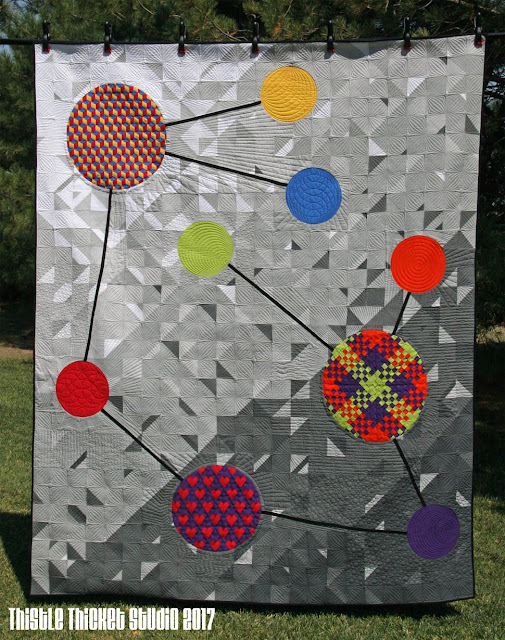
I really enjoyed making these circle blocks. I have cut up my left over Bella Solids fabrics from my Molecules quilt and I'm working on a circle quilt that will be 42" x 48". I hope you enjoyed this tutorial and if you make any circle blocks, please be sure to share them with me!
~Sharla
P.S. I'm linking this post up with Yvonne's Quilting Jetgirl Tips and Tutorials Tuesday linky party. Check out the tutorials featured in the link up.






Great tutorial, Sharla! Would you consider linking it up with Tips and Tutorials Tuesday?
ReplyDeleteThis is AWESOME!!! Thanks so much for posting this easy peazy looking tutorial. I'm feeling quite brave this morning because of it. I'll keep you informed once I jump in with a circle quilt. :D
ReplyDelete