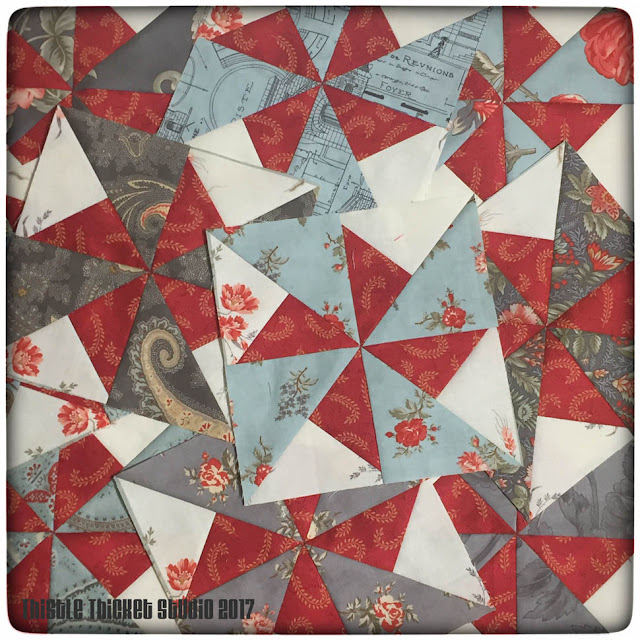
The double pinwheels went together quickly, thanks to my Bloc-Loc half square triangle ruler. This ruler is great for squaring up half square & quarter square triangle blocks.
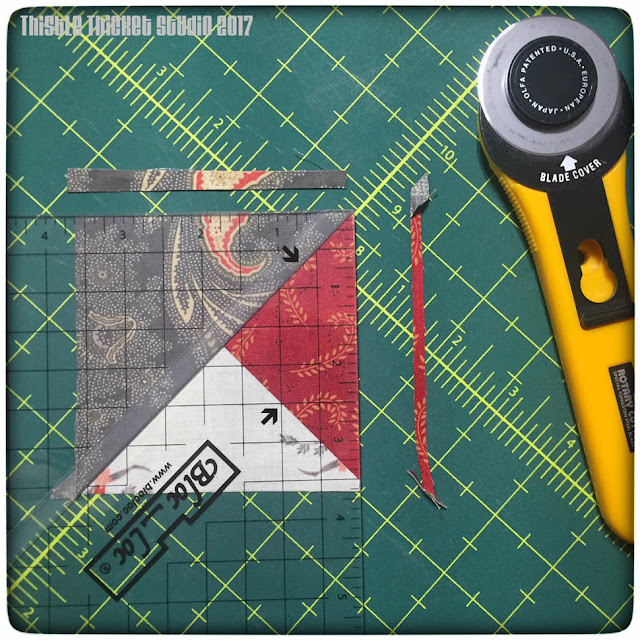
To square up my double pinwheel blocks, I took each quarter section and laid the Bloc-Loc ruler with the center grooved edge on my half square seam (top arrow) and lined up the 3 1/2" mark on the edge of the ruler on the quarter square seam, making sure that the corners of the markings along the 45 degree angle lined up on my quarter square seam (bottom arrow). When everything was lined up, I trimmed the top and right side of the square.
Then I rotated my block 90 degrees and placed the ruler's center groove on the half square seam again. I lined up the two trimmed edges on the appropriate size markings - mine were 3 1/2" - and trimmed the other two sides. FYI - after I took this photo, I realized I didn't get the top trimmed against the ruler, so I trimmed it again. When you line the groove of the ruler against your seam, it straightens and flattens out the block and gives you perfect half square triangle blocks every time (if you trim correctly!). I just love my Bloc-Loc ruler! (no affiliation here, just a fan!)
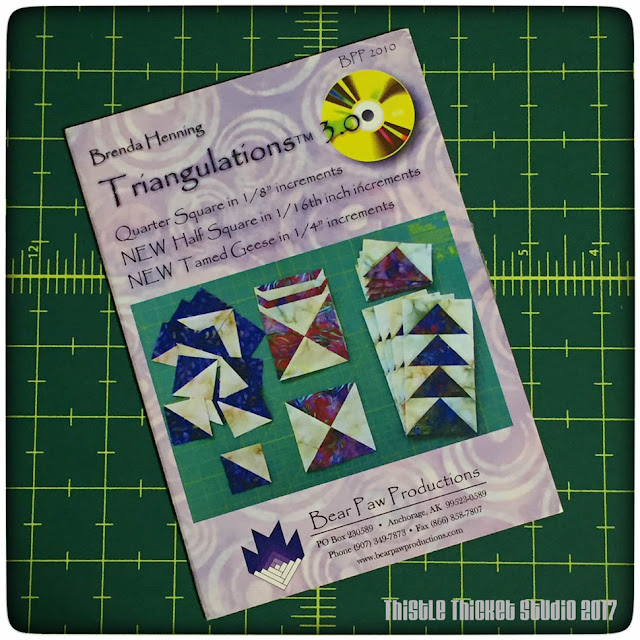
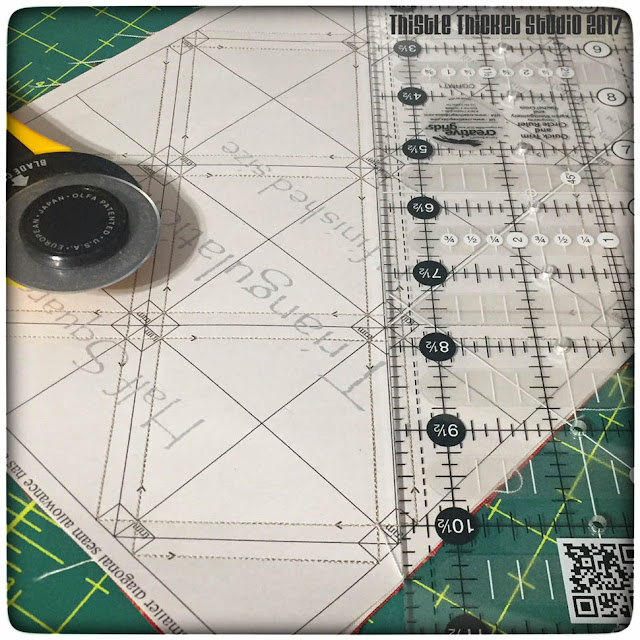
For the bear's claw blocks, I used another one of my favorite tools - the Triangulations CD by Brenda Henning (again, no affiliation). From the CD, you can print paper piecing patterns for half square & quarter square triangles & flying geese blocks in a multitude of sizes. It's great if you are making lots of blocks using the same fabrics.
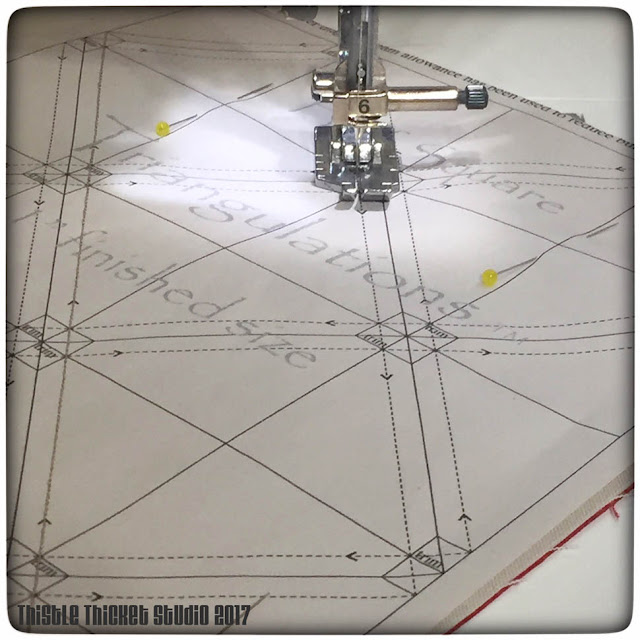
Once I printed my patterns, I determined how many blocks I needed and cut my two pieces of fabric 1/2" larger than the pattern. With the two fabrics right sides together, I pinned the pattern on top, then sewed on the dotted lines. I used a smaller stitch to help perforate the paper to make it easier to remove.
Once all the dotted lines were sewn, I cut the half square triangles apart along all of the solid lines.
In no time at all, I had a pile of half square triangle blocks! I pressed my blocks open, then removed the paper.
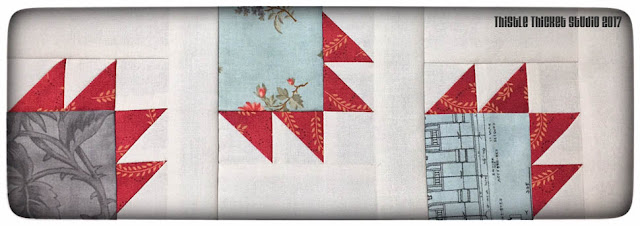
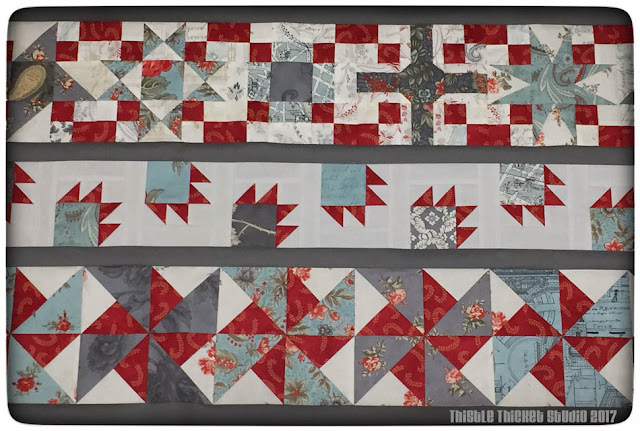
With those little 1" half squares done, the rest of the bear's paw blocks went together easily. Since my first two rows are each 6", I decided to make my bear's paws 3" then added a 1" strip on two sides of the block so that the blocks were offset along the row, and measured 4" finished (all measurements mentioned are finished sizes). Hopefully it looks like the bear's paws are walking across the quilt. Making the row 4" also adds some variety in the size of the rows and will help keep the quilt from getting too long.
With my three rows complete, I'm caught up on this challenge. I am putting a 1" sashing between each row to separate them and I think it helps tame the busy look of the quilt.
Actually, I was caught up on this challenge for only a day. Yesterday my quilt guild had a sew day and drew for the next row - flying geese. I came home & designed a paper piecing pattern for a 3" row with geese (that really look more like triangles) that will fly across the row in a wavy pattern. This is my first foray in designing my own paper piecing pattern, so hopefully it will work. Fingers crossed!
What's under your needle this week? I'd love to hear about your works in progress and your favorite tools, so share away!
~Sharla





How fun to be drafting your own pattern of flying geese (just remember that they end up mirrored when sewn together). I am going to finish up a quilt for a blog hop that start next week and then I have fabric to start on a baby quilt for some friends this week. :)
ReplyDelete