Now that Christmas is over, I can share a couple of design projects I did this fall. They are both tea towels, one for myself and one for a client, which I'll share first. I was honored to be asked by my sister-in-law to design a recipe tea towel using her mother's recipe cards. She wanted to give the tea towels as gifts to her sisters.
I chose the color scheme based on the colors in the graphic on one of the recipe cards used in the design. I designed the background with pinstripes in two colorways. The pinstripes helped add interest and depth to the design. Instead of adding photographs of cooking utensils, like I did in a previous design I did, I decided to draw utensils because I could color them in the same range of colors as the graphic.
My SIL chose the blue background for her tea towels, but when Spoonflower had a sale on fat quarters I ordered a yellow one to include in my samples. If you are not familiar with Spoonflower, it is an online digital fabric printing company that I use to print my designs on fabric.
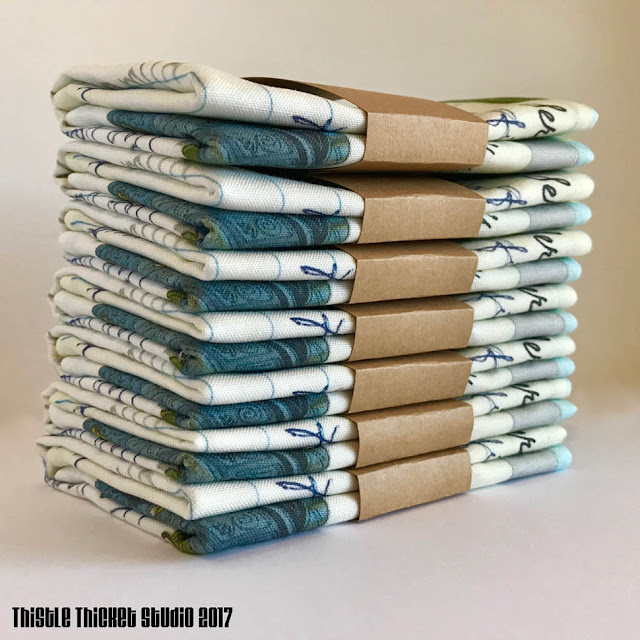
There is something so satisfying about seeing a stack of sewn, packaged and completed tea towels that I just have to photograph it.
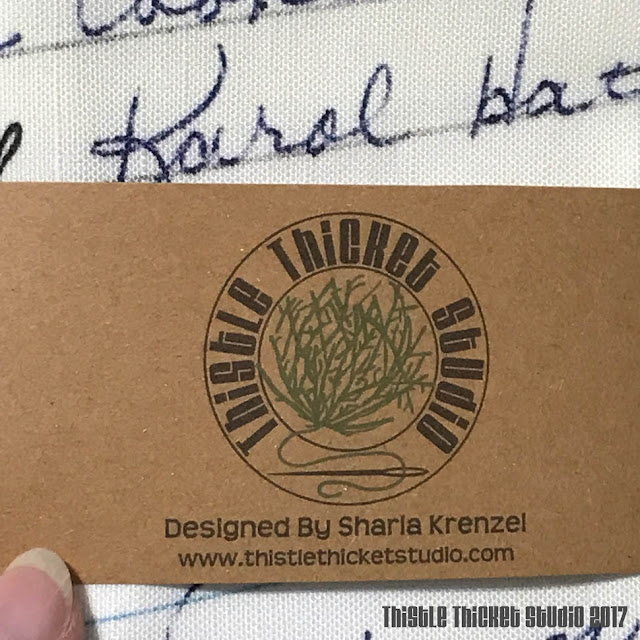
I've designed a band of cardstock with my logo on the front and laundry instructions on the back that I use to package the tea towels I design.
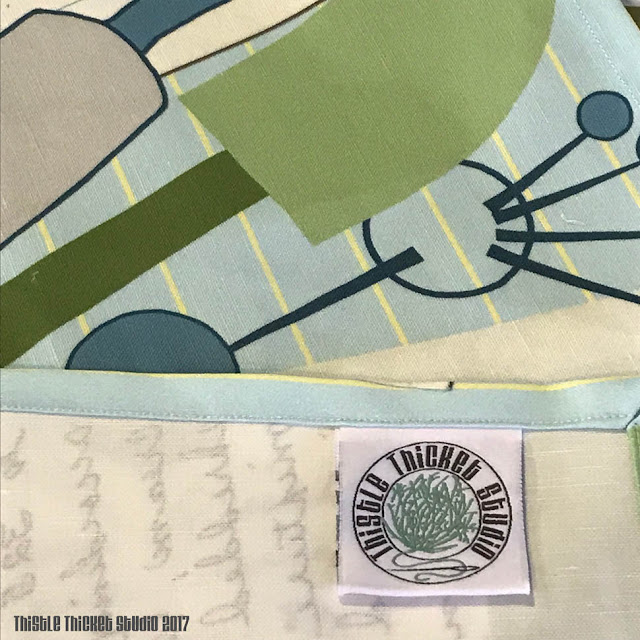
And now that I have woven logo labels, I sew a label in the seam of each towel.
I hope my SIL and her family enjoy the towels as much as I enjoyed designing them. I hope it is a keepsake they will cherish.
~Sharla
P.S. This is my one completion for the 2017 Finish-A-Long 4th Quarter, so I will be linking up to the linky party when its posted on December 31st. To see my Q4 goals, click here.
I come from a family of collectors. If one thing is good, then 50 of them must be even better, right?! I inherited my collecting genes from my mom. She collects lots of things, one of them being head vases. When you come from a family of collectors, there's always lots to look for when you go antiquing. So, about a year ago, I ran across a few head vases in a shop. I sent photos to my mom and she picked out which ones she wanted. I don't claim to know anything about head vases, but I sure learned a few things from that little shopping spree. Like, did you know that reproduction head vases from China have made their way to the U.S.? Yea, I didn't either. So, of course, a couple of the vases I bought mom that day ended up being repros. Ugh, nothing worse.

So, to turn a 'pig's ear into a silk purse' (or so the saying goes), I took one of those reproduction head vases without mom knowing (at least I think she didn't miss it) and decided to dress her up for the holidays and give it back to mom for Christmas. Talk about regifting!
This particular gal has a burgundy outfit so I looked for one vintage ornament that would blend with the burgundy, then chose other vintage glass ornaments with hints of the same red color. Those complimentary ornaments had lots of gold and silver, so I selected a few additional ornaments in those colors to round out my materials to work with. I placed an icicle ornament and a couple of glass bead stems to create height first, then started layering in the other larger ornaments to fill the vase space. I topped it off with the bird, which I think really sets the whole arrangement off. And lastly, I filled in the holes with small Shiny Brite balls. I think she turned out rather well - the perfect amount of gaudiness to offset the ugliness of the reproduction head! Ha, Ha!
Wishing y'all a Shiny and Brite (and gaudy) Christmas filled with wonder and love!
~Sharla
I'm still dabbling with my vintage Christmas ornaments and candoliers. It's just so fun playing with combinations. But after this round, I've packed up the remaining candoliers and Christmas decorations until next year. I need to get my crafting messes cleaned up so I can do a little baking before this weekend. Christmas is almost here!
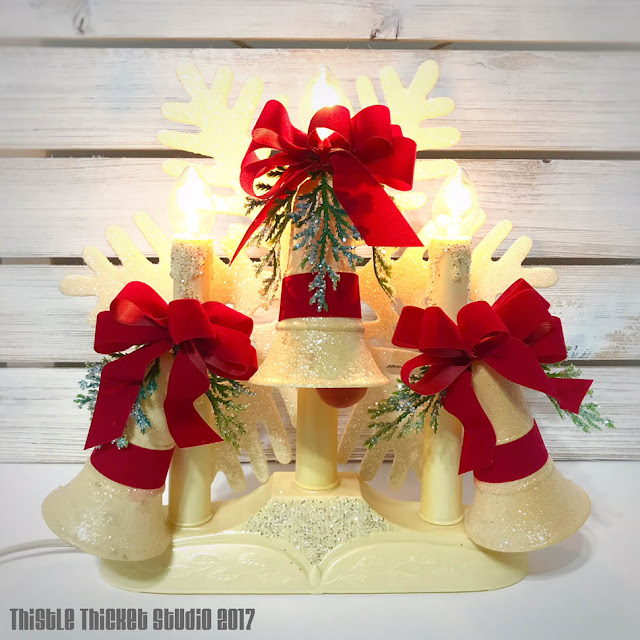
As soon as I saw this set of 3 plastic bells, I knew they would be perfect to pair with a triple candle candolier. I also found 3 of these big plastic glittered snowflakes and knew they would be perfect as a background to the triple candolier also. This one just says classic Christmas to me. This will look great paired with the Merry Christmas candolier I showed y'all in my last post!
I loved this vintage little plastic reindeer, and these arrangements that are more neutral in color are my favorites. I found a big box of these clear plastic icicles and I'm loving them. They will definitely show up in future projects! It's hard to see, but just under the lightbulb is a star-shaped plastic light reflector.
I decided to try one in a blue color scheme. It's okay, but I much prefer the other ones I've made. I found a whole jar of these vintage glitter birds, so of course I had to include one. And I included the two blue plastic star reflectors I had in this piece.
Here's a look at the plastic star light reflector - just a perfect topper on these candoliers!
Well, I better get back to cleaning up my crafting messes!
~Sharla
I think I mentioned that the hubby and I spent the last couple of weeks in Texas spoiling the grandkids. We also spent some time hitting up antique shops and estate sales and it was the perfect time to find some great vintage Christmas decorations. I love most things vintage, but I have a special passion for vintage 50's Christmas - plastic Santas, blow mold snowmen, candoliers, and all things Shiny Brite.
I found lots of goodies and I don't think I spent more than a couple of dollars at the most for anything, but it does add up! I was surprised at how much I accumulated when I unpacked it all yesterday!
I've been wanting to make some decorated candoliers and ornament box dioramas, so I concentrated on finding things to work into those two types of arrangements. And of course I had to jump right in and make some things, like this festive triple candle candolier. This little flocked Santa is so cute, and although new, I found the red flocked Merry Christmas and ribbon that are perfect for it. To tie it all together, I sparkled it all up with crystal glitter. Nothing says Christmas like glitter, right?
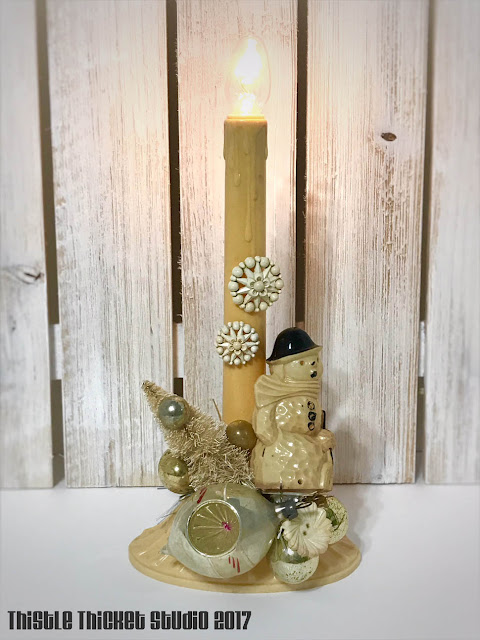
I decked this single candolier out in a monochromatic color scheme. That snowman is actually a plastic Christmas light bulb! And I thought the vintage buttons looked like snowflakes.
When I saw this box of old turquoise blue ornaments, I knew I had to get them - not so much for the ornaments, but for the box! I knew it would be perfect for my diorama. I lined the inside of the box with pages from an old book, then glued a couple of vintage Christmas postcards for the background. Although its hard to see in the photo, I put vintage greenery in a couple of corners inside the box to add some depth. I decorated the outside of the box with this cute Santa, sleigh and reindeer I picked up at an estate sale for $1, topped the tree with a star and tiny ball, and added a bubble light, ornaments, Christmas bulbs, and a Christmas pin. Lastly, I added the red velvet ribbon for hanging.
As you can tell from my first photo, I still have lots more to make! My mom keeps asking me what I'm going to do with them all. I've been wanting to set up an Etsy shop to sell some of my goodies for awhile, so maybe that will be one of my goals for 2018. Or maybe I'll just set up a Paypal account (yes, I know I'm really behind the times) and sell them on Instagram. What do y'all think?
~Sharla
The hubby and I arrived home last night from two weeks of spoiling the grandkids - just in time for my turn on Moda Bake Shop's Countdown To Christmas Sew Along and I'm pleased to share with you my block "Oh Lil Christmas Tree".
Don't let the small pieces intimidate you, this block goes together very easily!
I share instructions for both a 6" and 12" finished block. You can use this block to make a variety of things, like this pillow decked out in red ball fringe.
I think this block would make a cute mini quilt advent calendar too - just add 25 little red ribbon bows on the branches to tie candies on.
So hurry on over to the Moda Bake Shop blog to get my "Oh Lil Christmas Tree Block" pattern! If you make one, post your photo on Instagram and tag me!
~Sharla
Today I'm helping Moda kick off their Countdown To Christmas Sew Along. Beginning today through December 26, a new holiday quilt block will be featured on the Moda Bake Shop blog. Each block finishes at 6", the perfect size for an assortment of Christmas projects so be sure to visit the MBS website each day to get your free block instructions! I can't wait to share my block on December 12! (Hint - mine is one of the blocks featured in the logo above! Can you guess which one?)
What a fun way to count down the days 'til Christmas!
~Sharla


